The Hackberry Bench
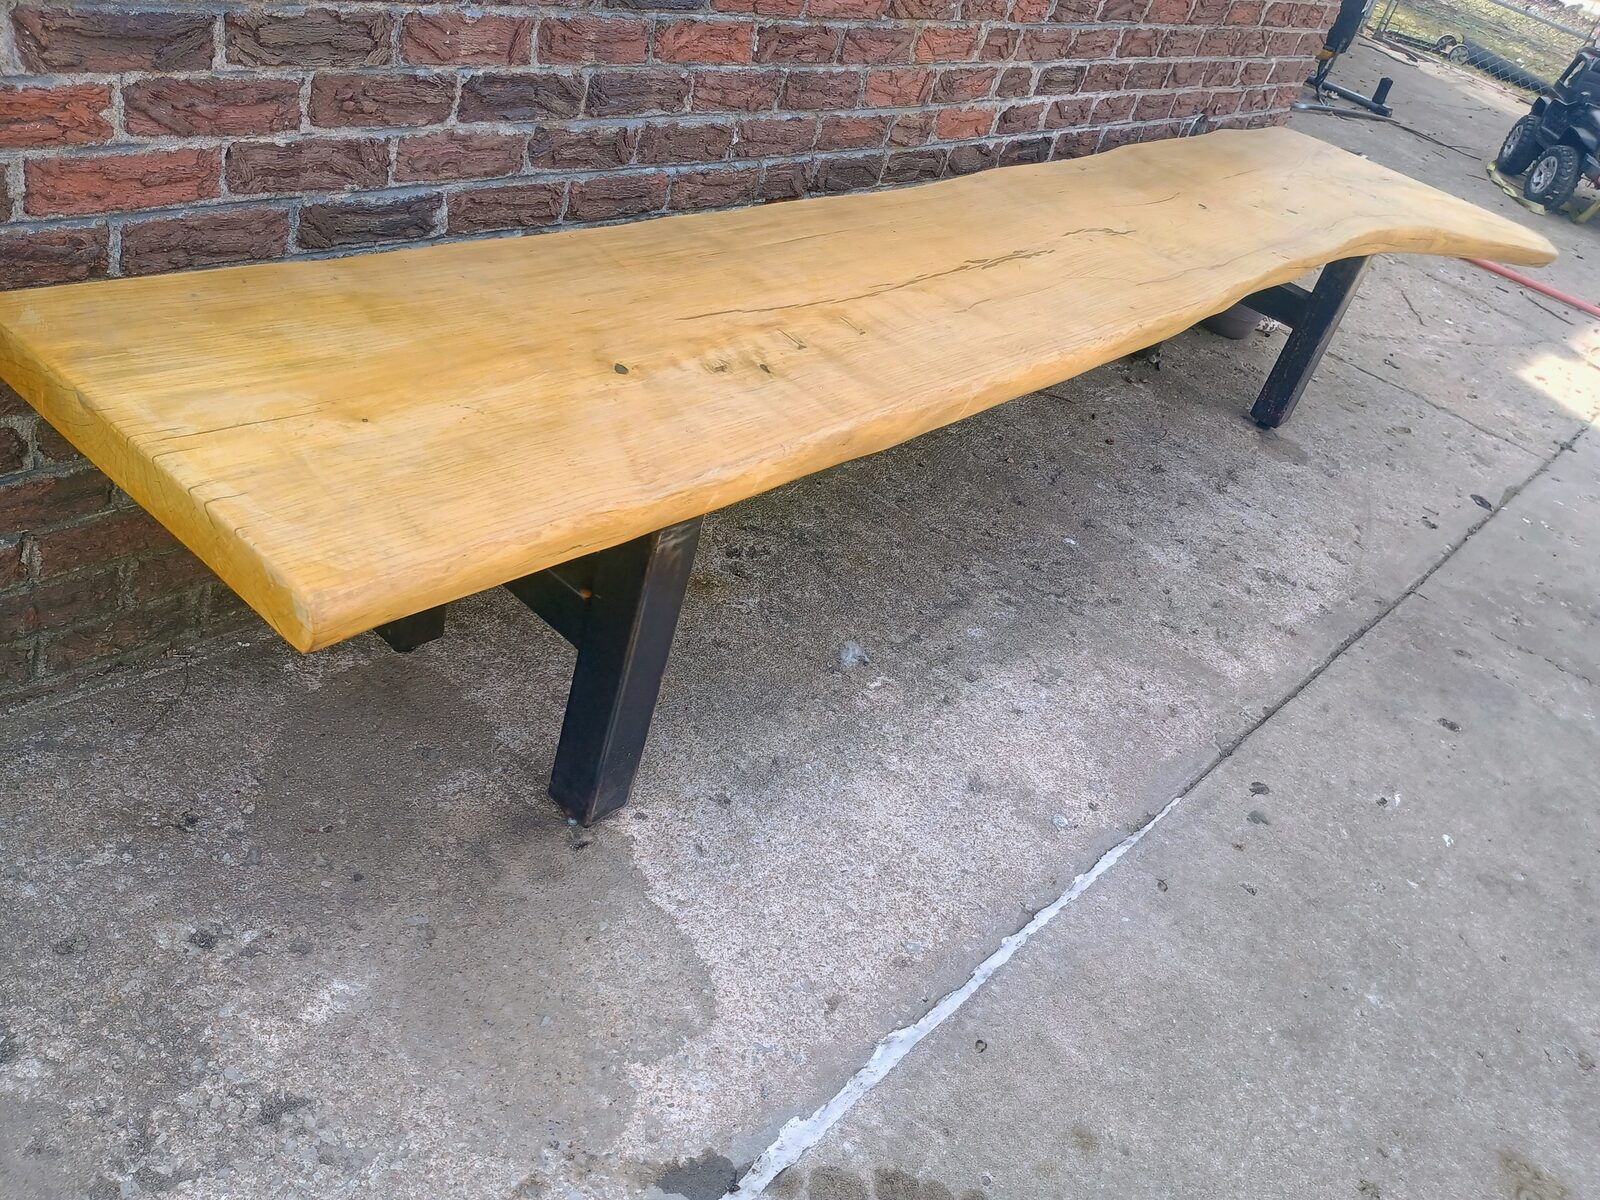
I cut down this hackberry tree myself. Brought the trunk home on a trailer — and this is what came off of it.
Milling
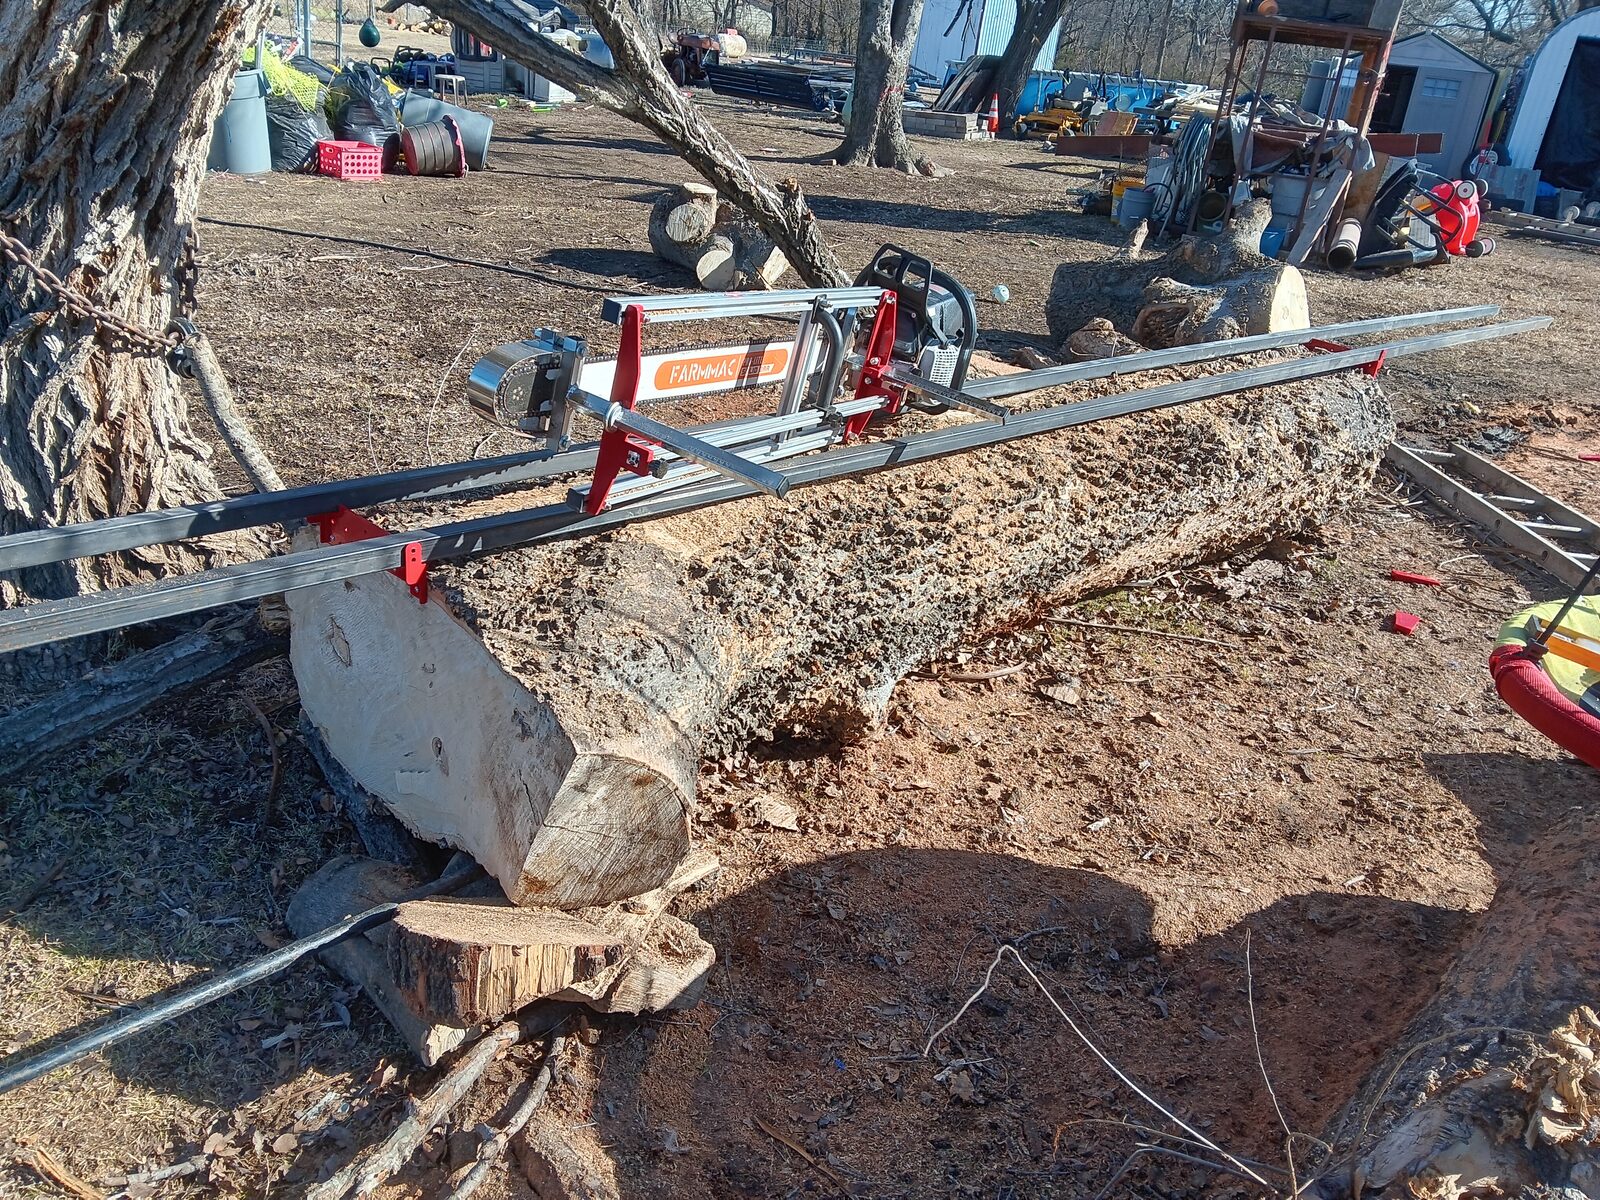
I bought a chainsaw mill — a Farmertec — and gave it a shot. My first time milling anything into slabs. Hackberry is not a softwood, so this was not a gentle introduction.
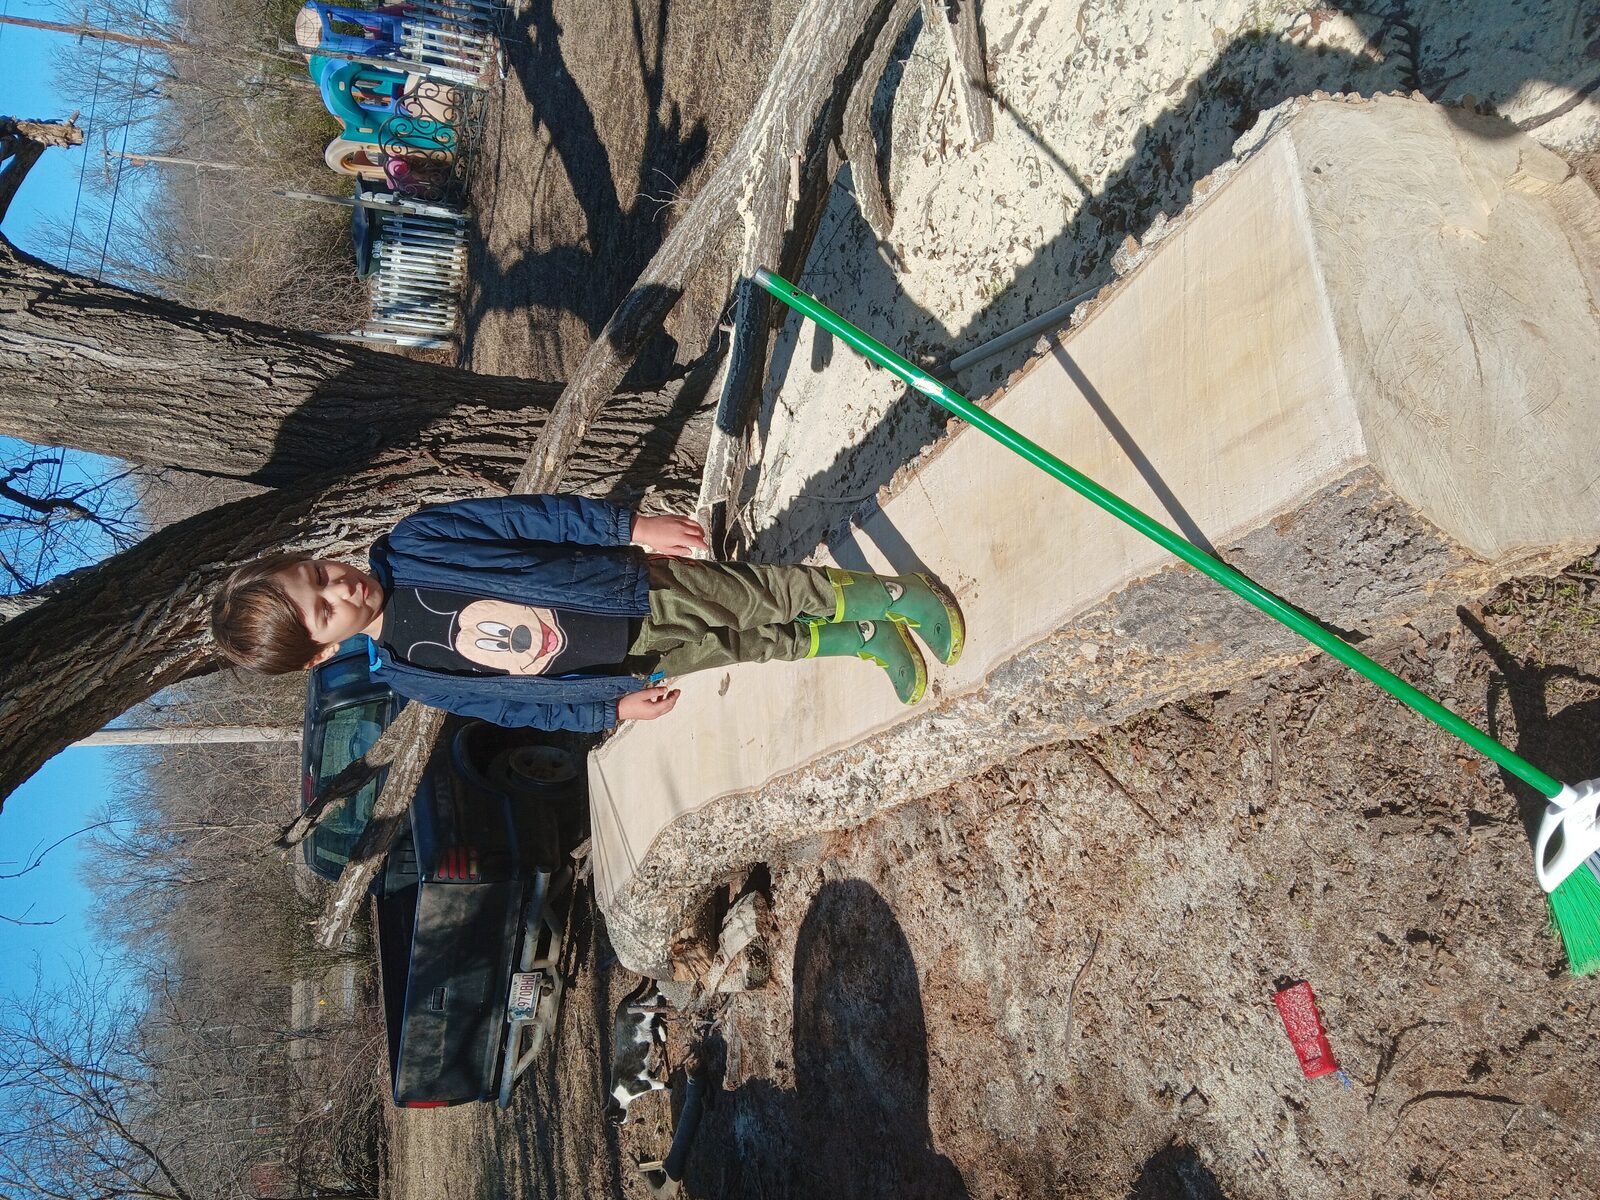
Worth every bit of it though. Here's one of my quality control managers standing on our fresh cut.
Drying
I didn't have my solar kiln yet, so these just got stacked in the yard for a few months. Chickens approved.
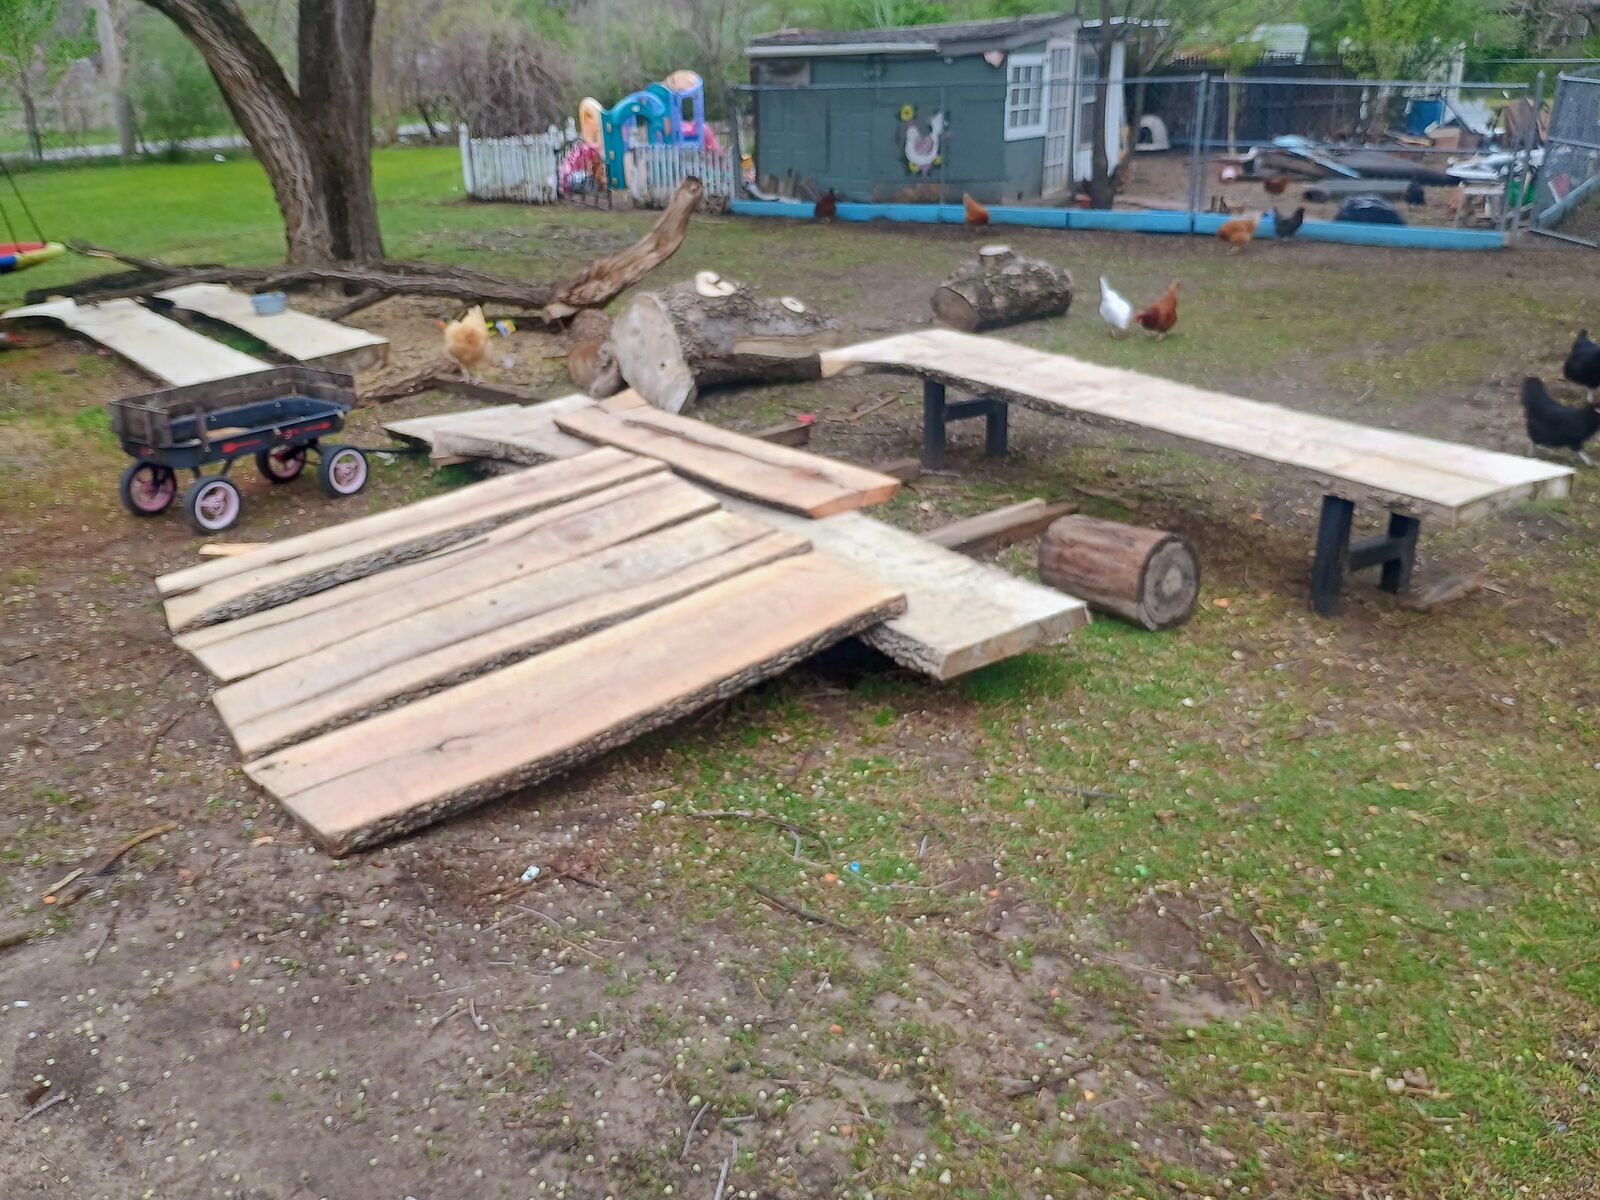
That pile produced a lot more than just the bench — I still have slabs from this tree waiting for their turn.
Flattening
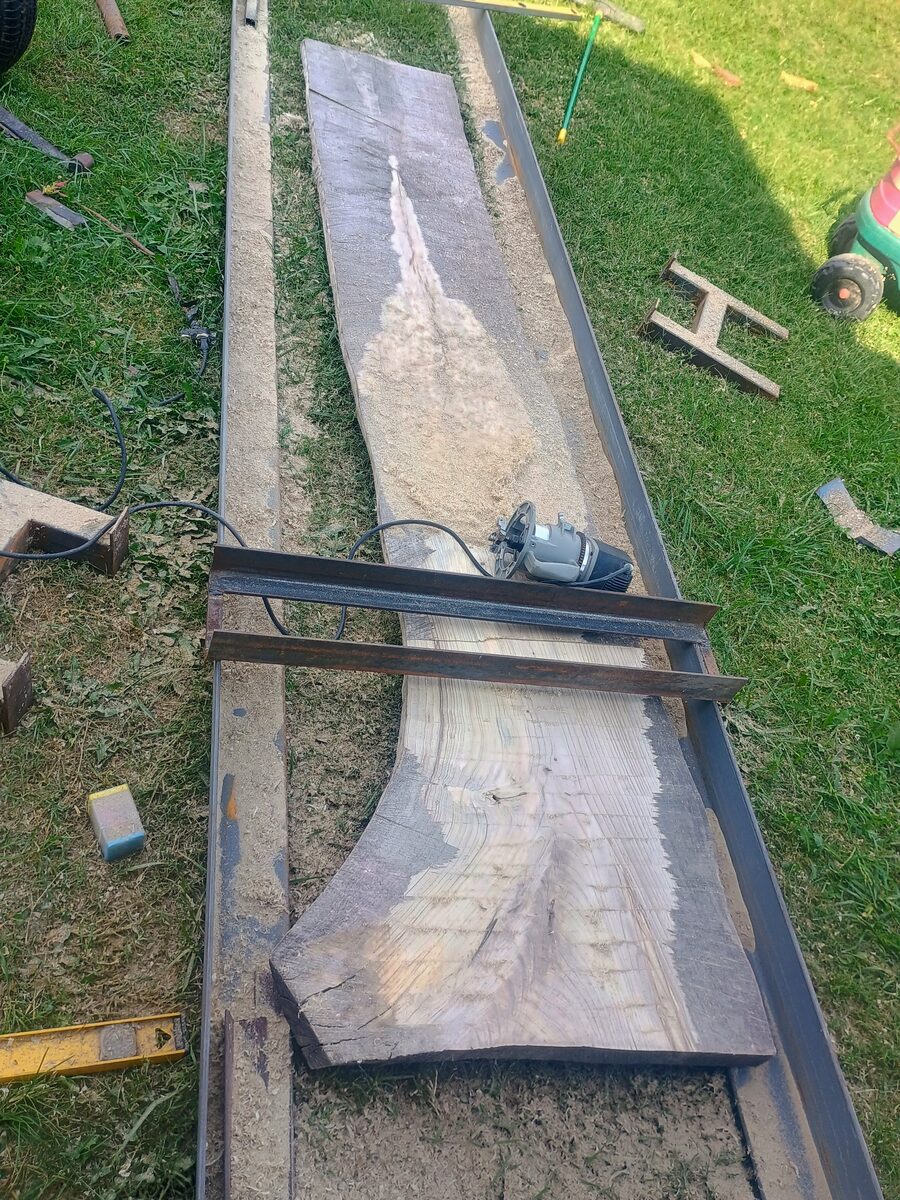
I built a router sled out of steel and angle iron. Nothing fancy, but it got the job done. Running a flattening bit across a slab this size takes a while, but the sawdust trail tells you you're making progress.
Sanding
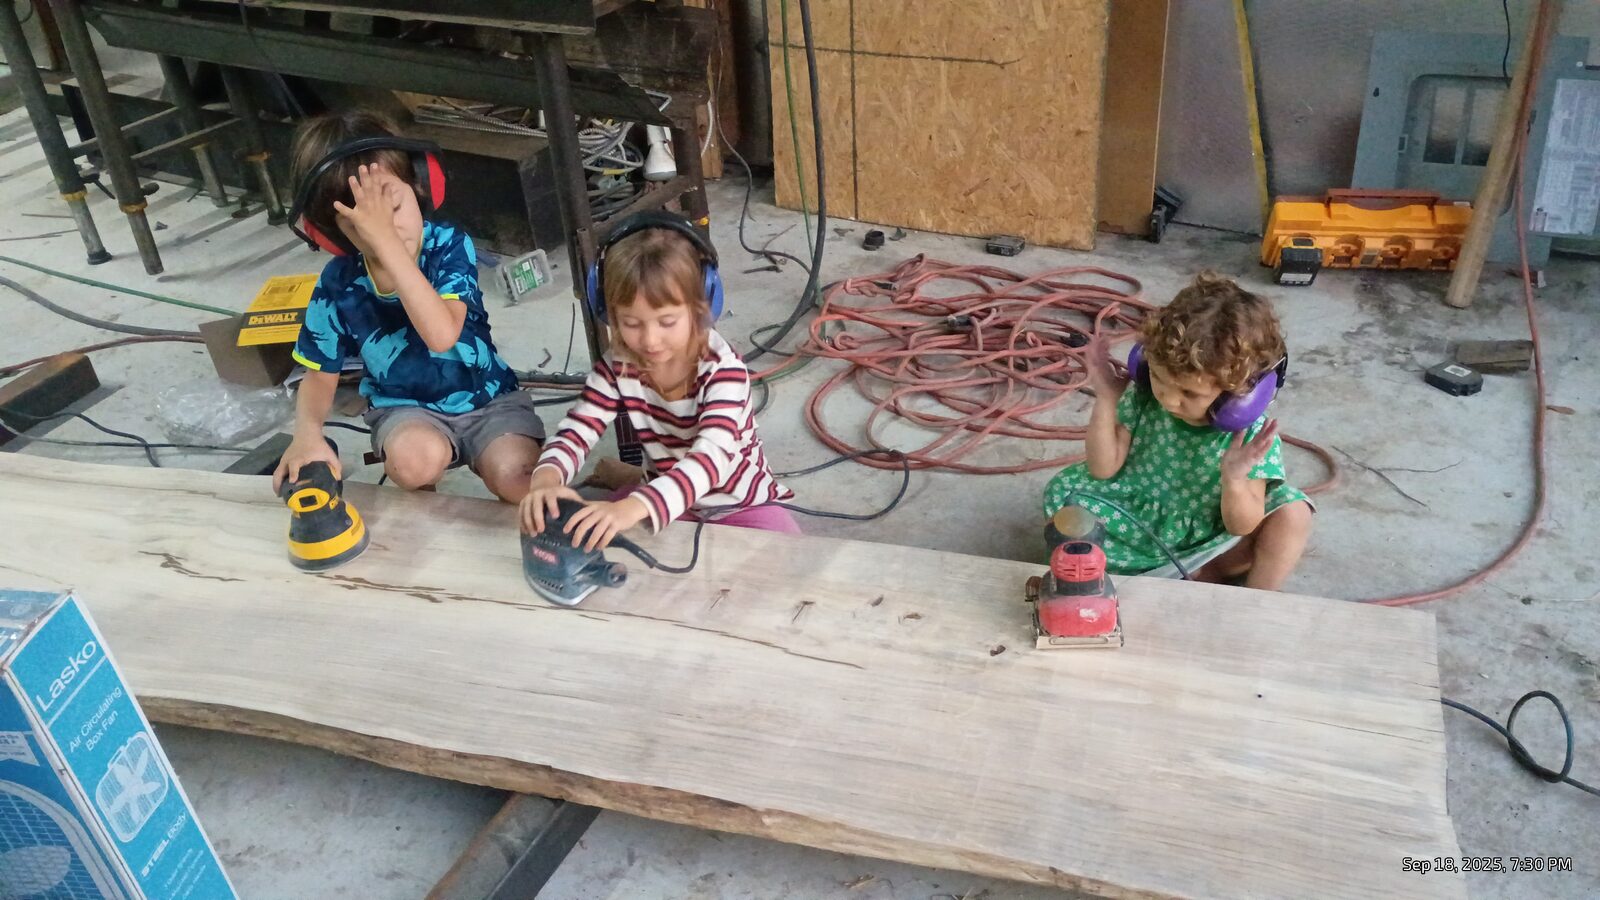
This is where the team really came together. Three kids, three sanders, ear protection mandatory.
First Finish
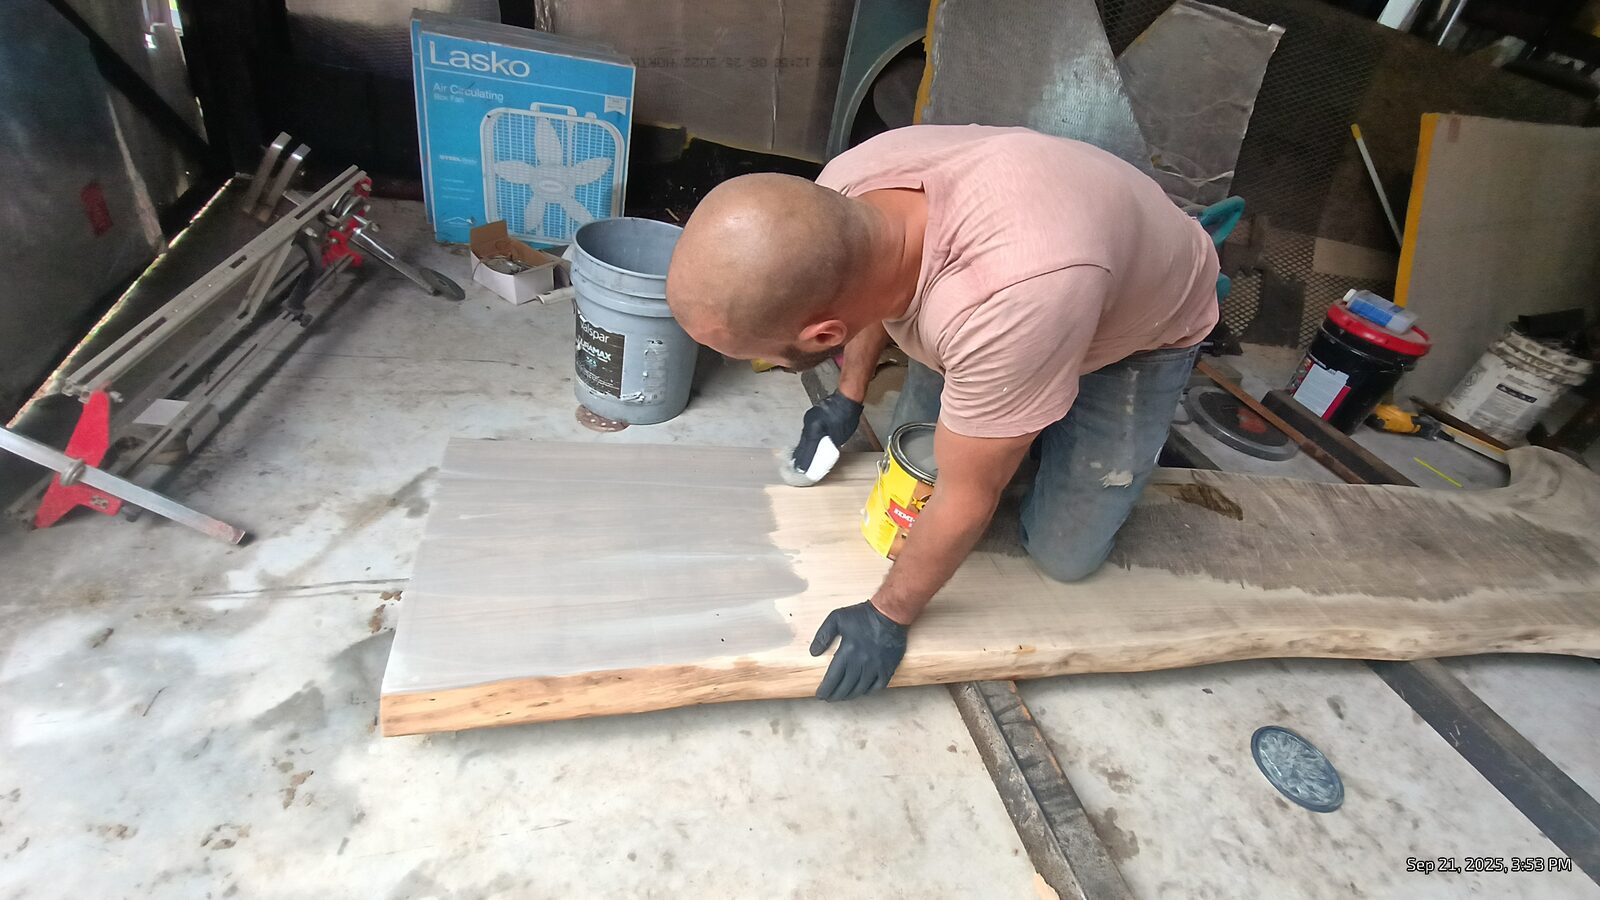
After sanding through the grits, time to put something on it and see what we've got. Applying the first coat by hand — that moment when the grain pops for the first time never gets old.
On Its Legs
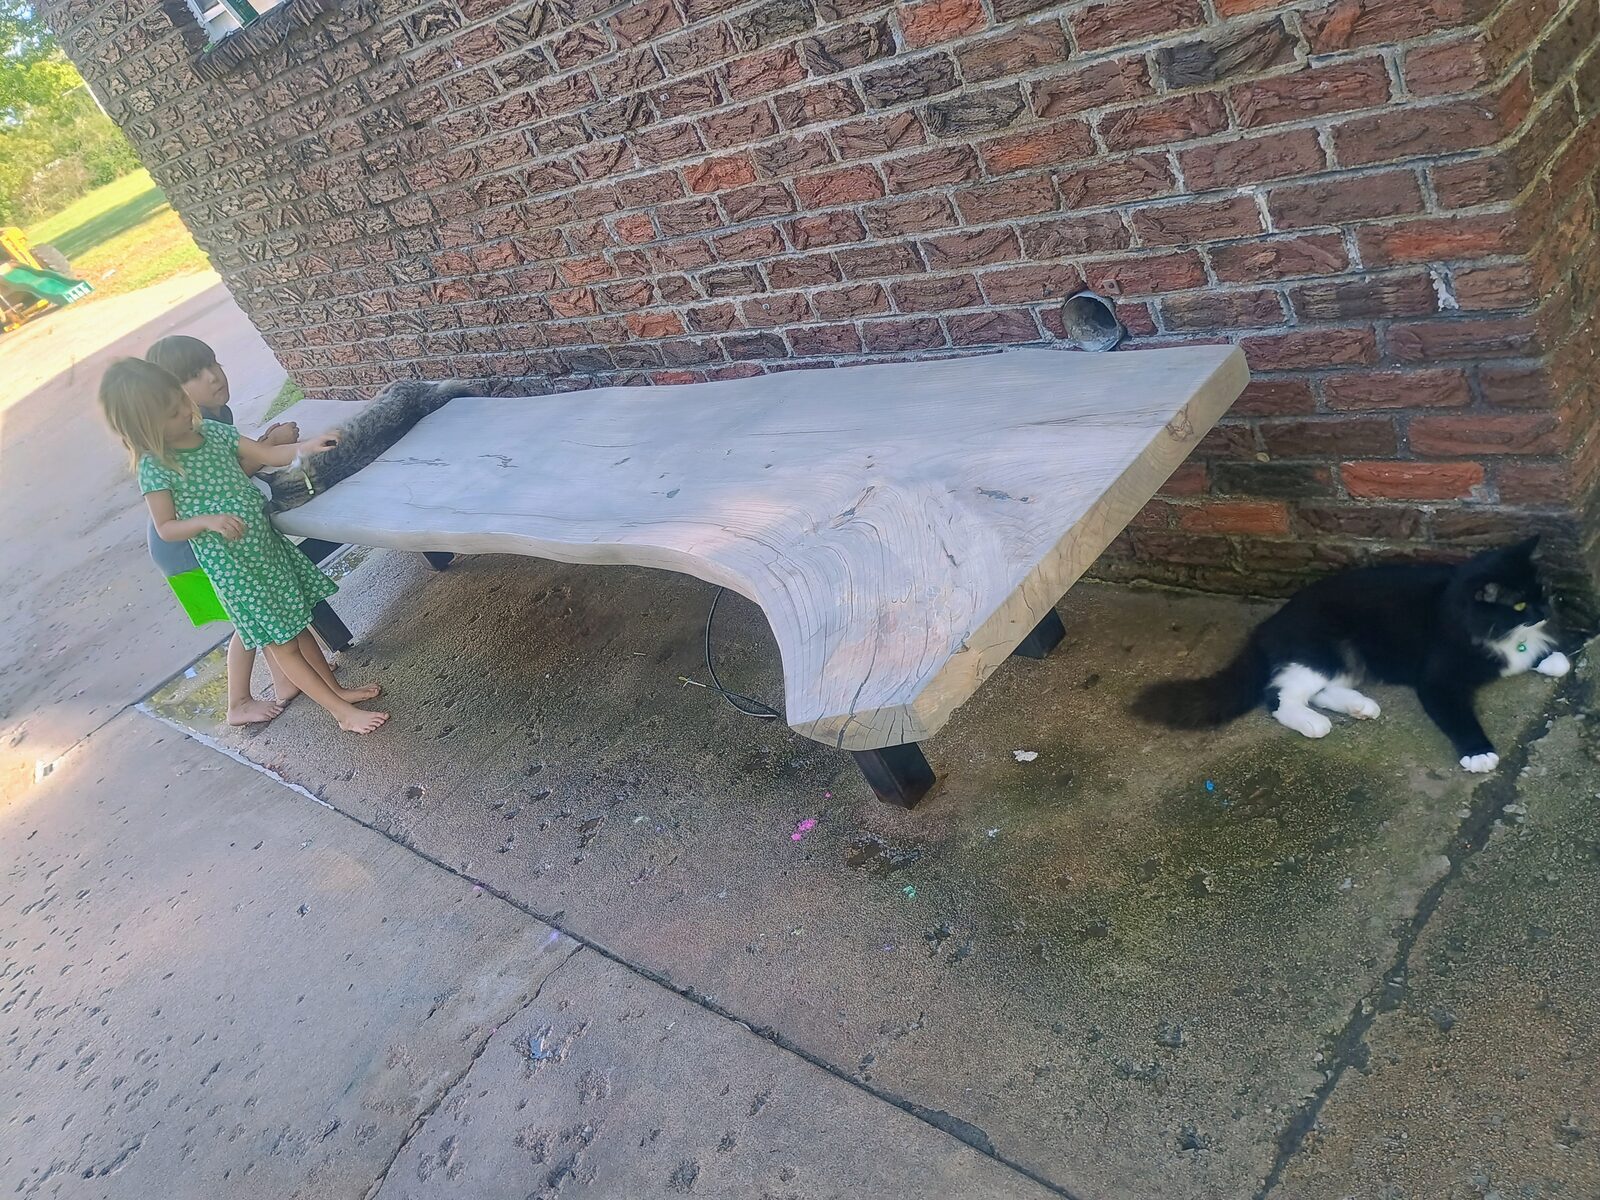
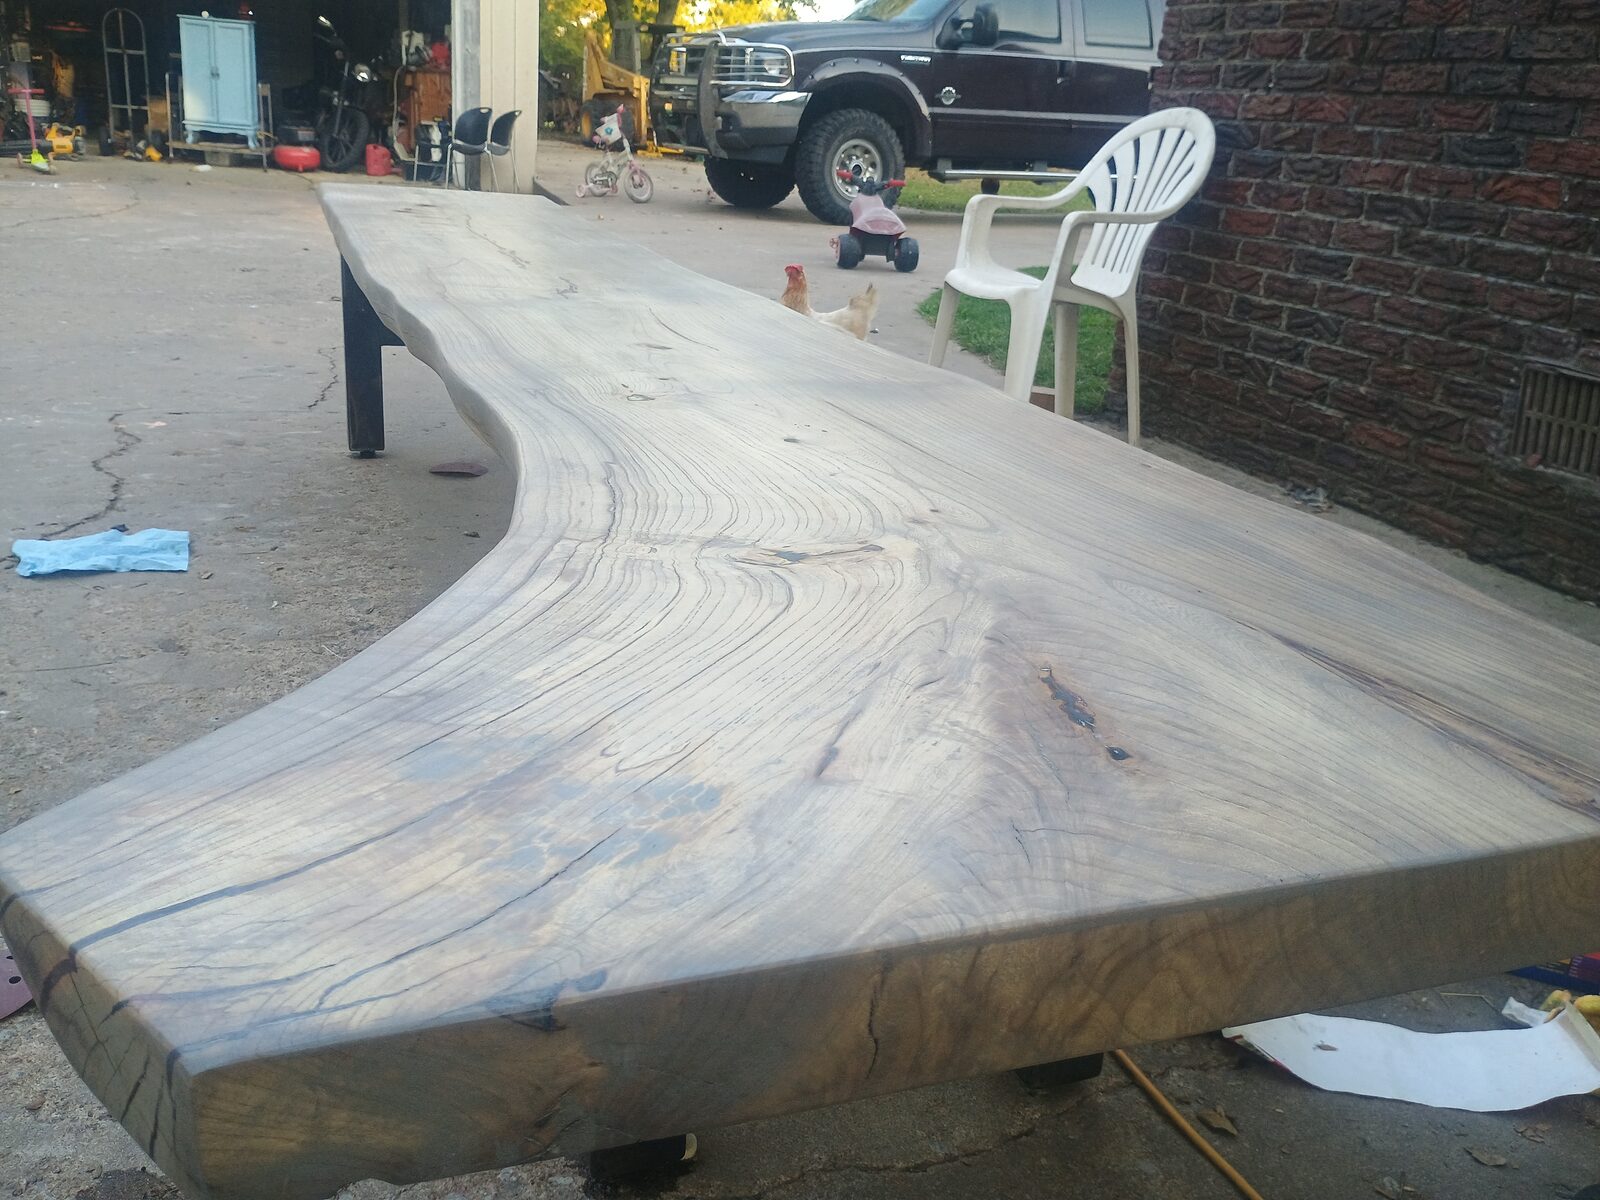
I welded the legs myself — simple steel, flat black. The bench lives on the front porch against the brick now. The live edge on this piece has a nice sweep to it.
Refinishing
This bench went through two or three rounds of finishing. Epoxy fills in the cracks and voids, sand it back, recoat. Each pass gets it a little closer.
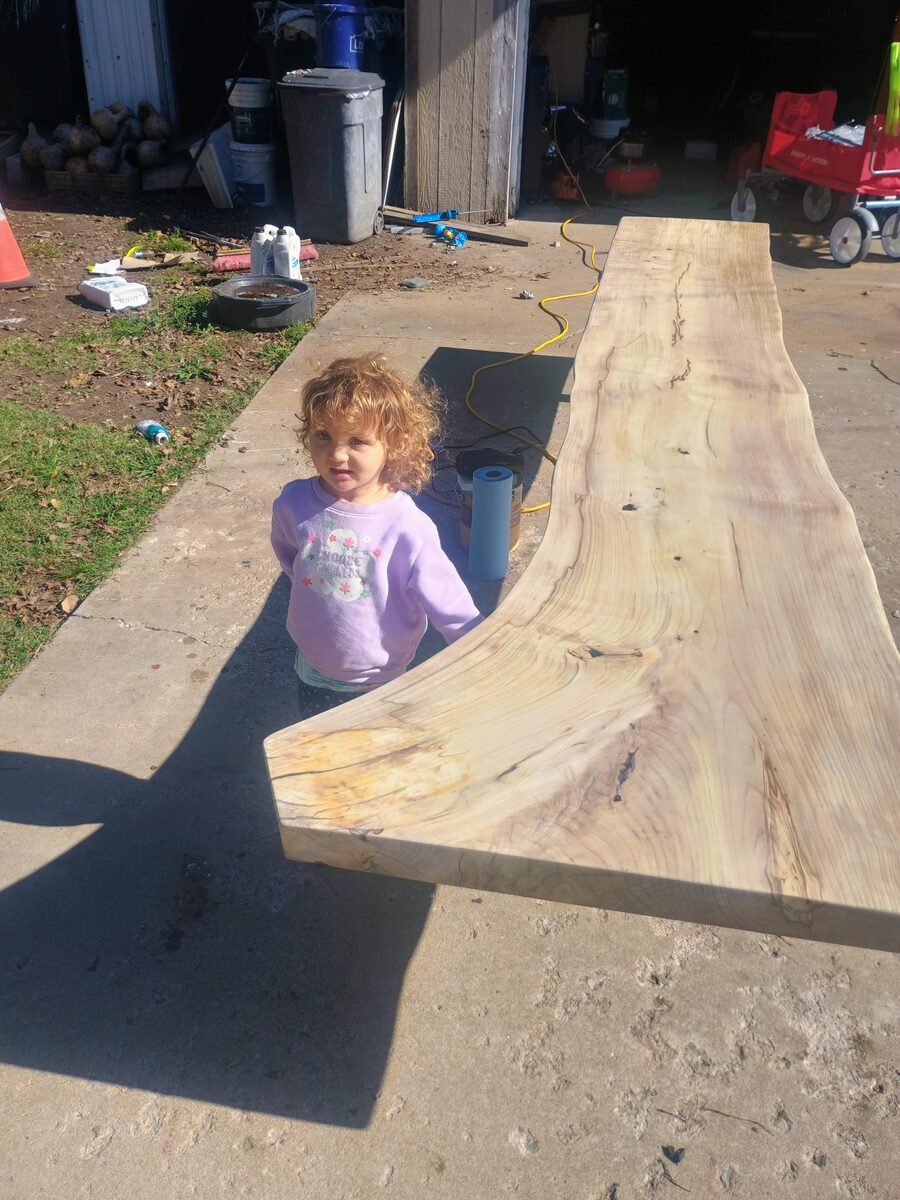
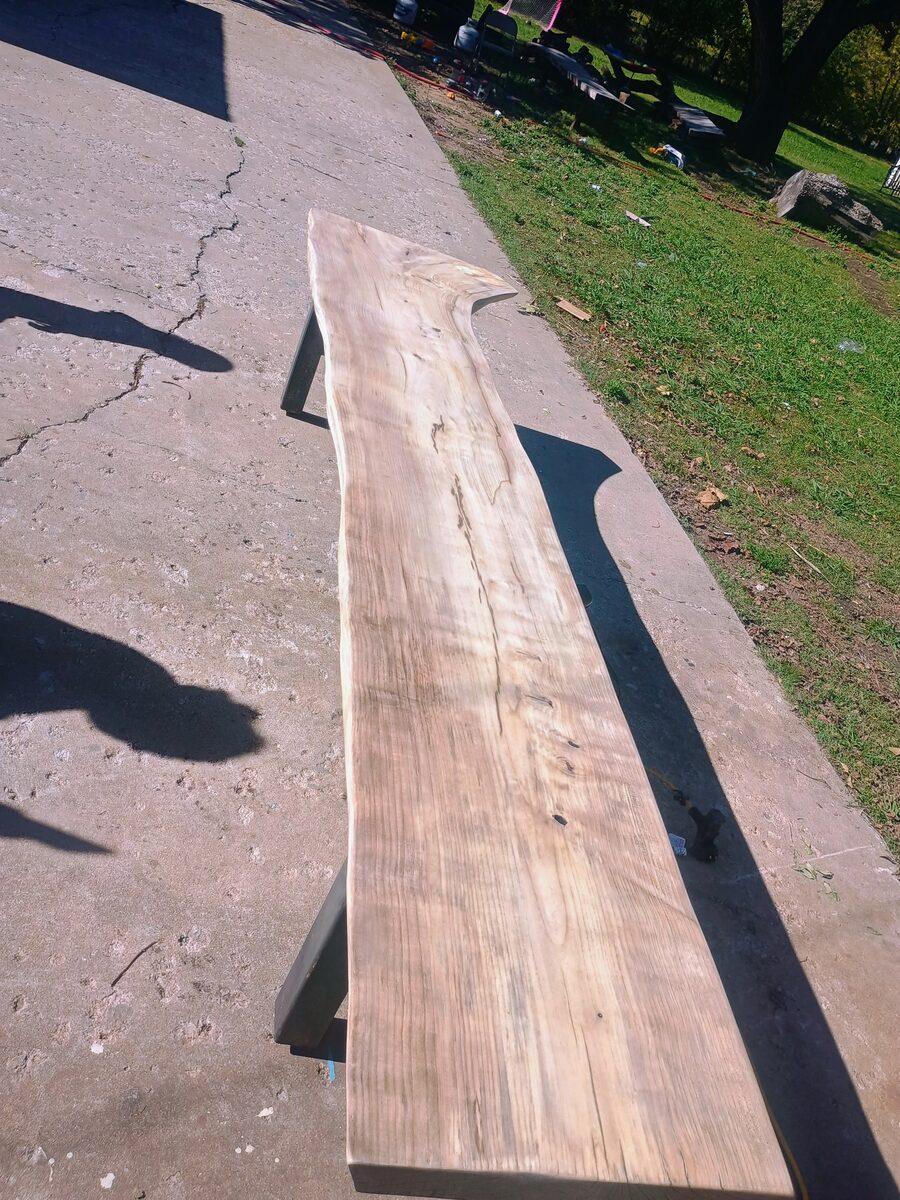
The grain detail on this wood is something else. Hackberry doesn't get the respect it deserves.
The Steel Legs
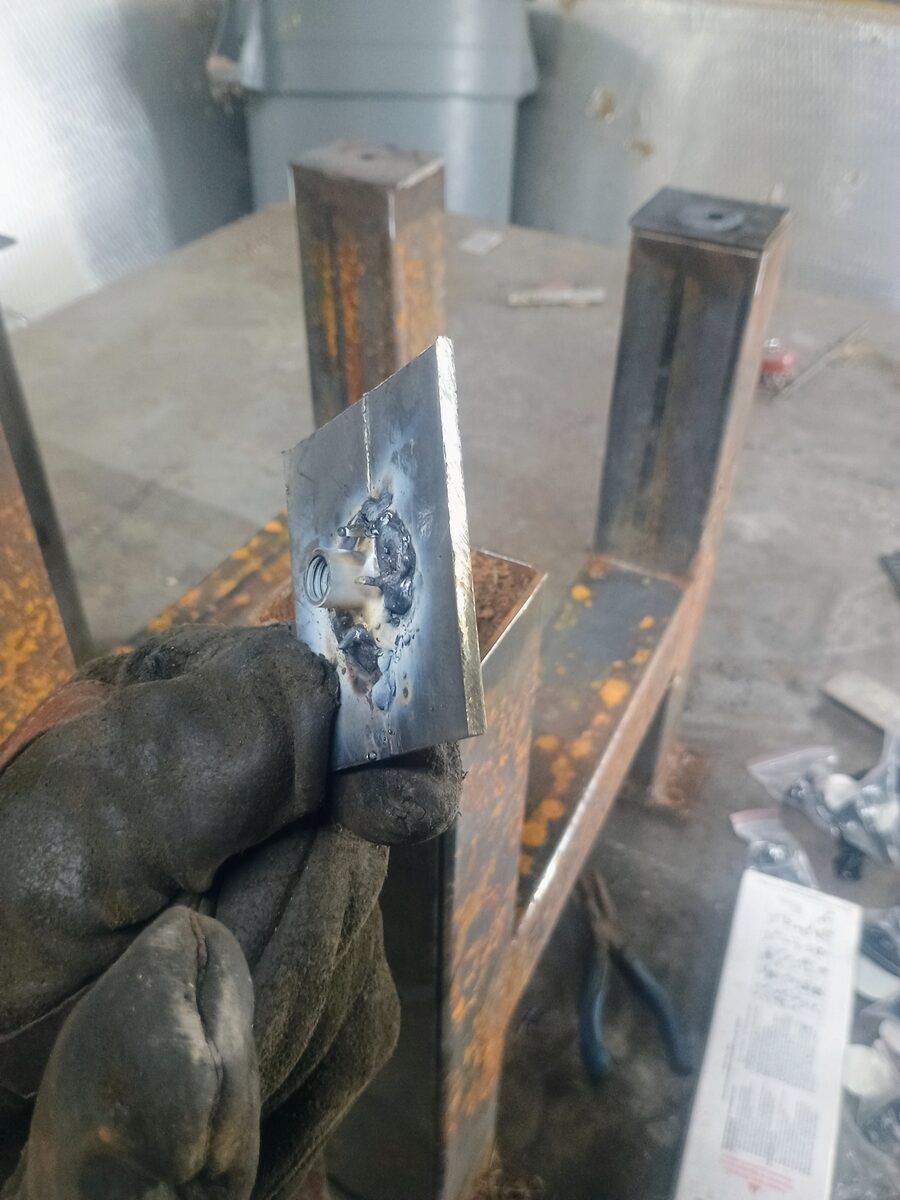
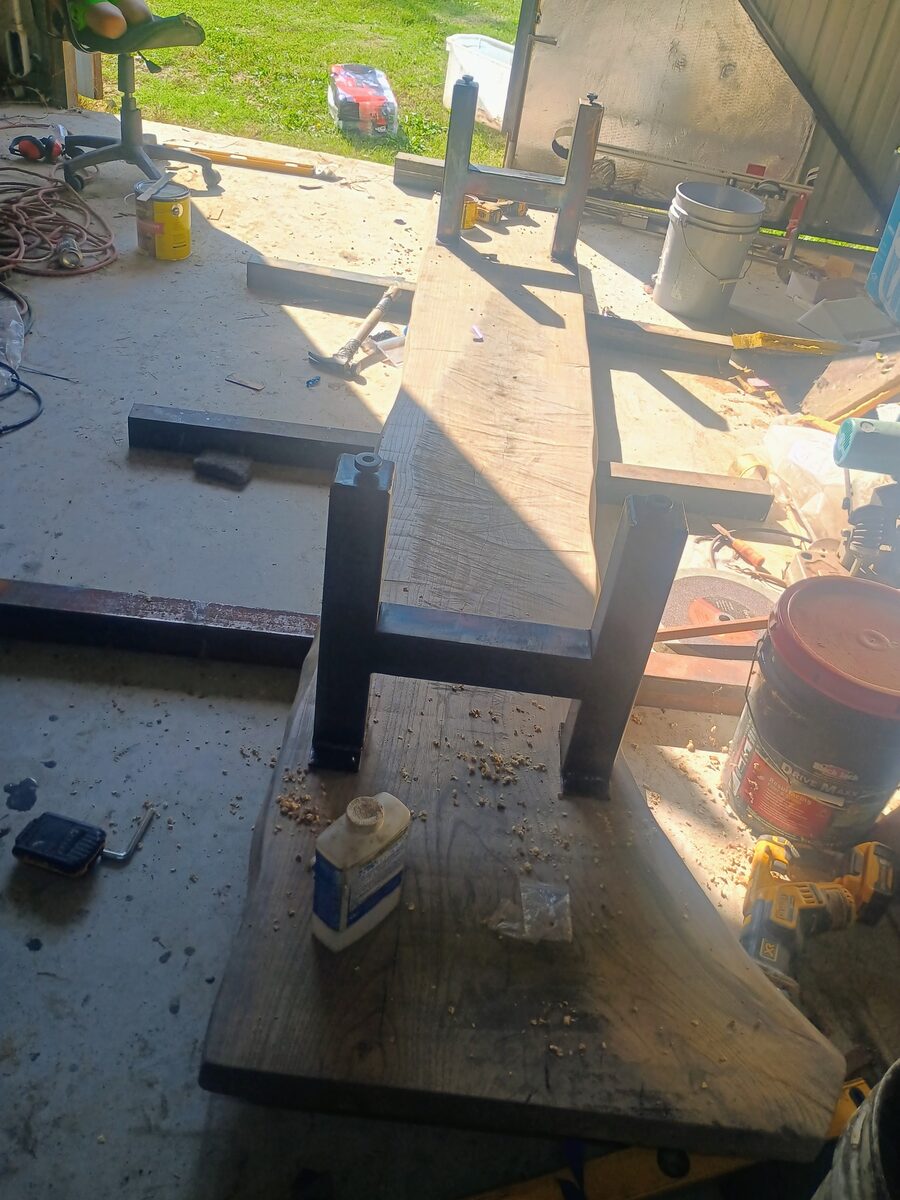
The slab was ready. Now it needed something to stand on. I fabricated H-frame legs from square tube steel — two matching sets with a crossbar for rigidity. Leveling feet welded into nut plates on the bottom so the bench sits flat on an uneven porch.
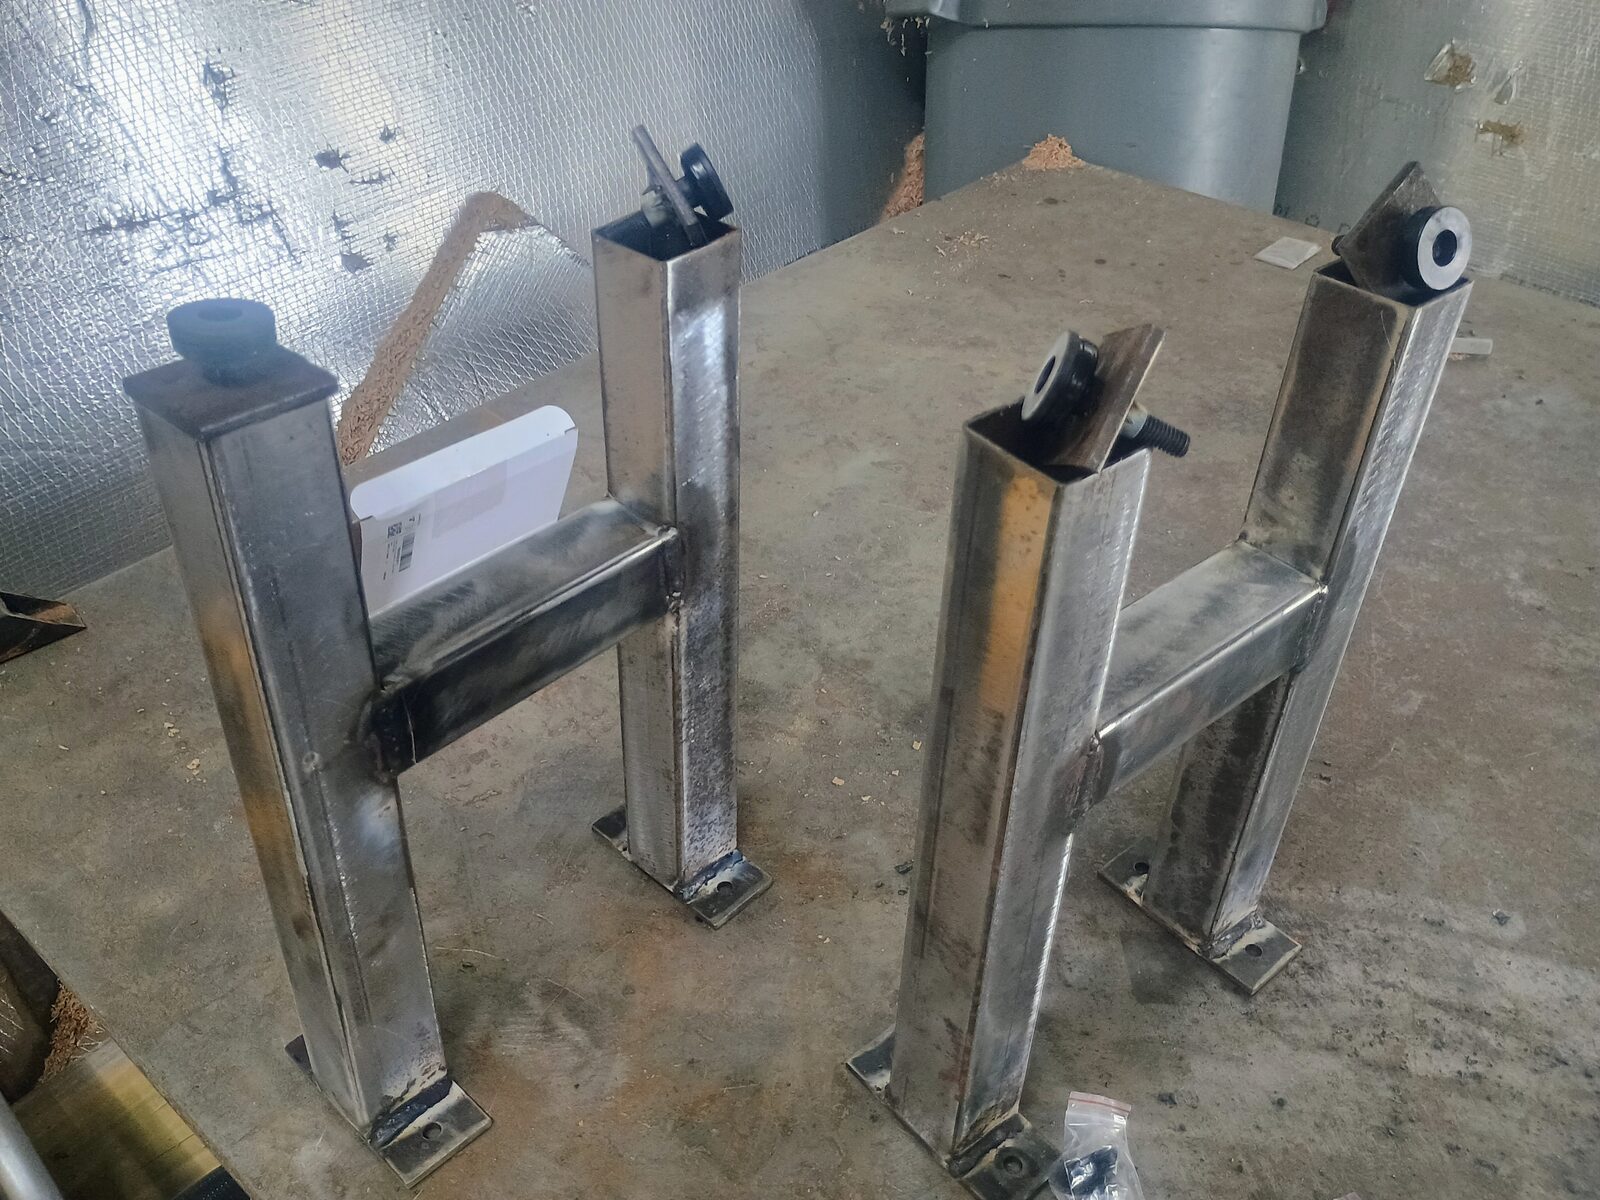
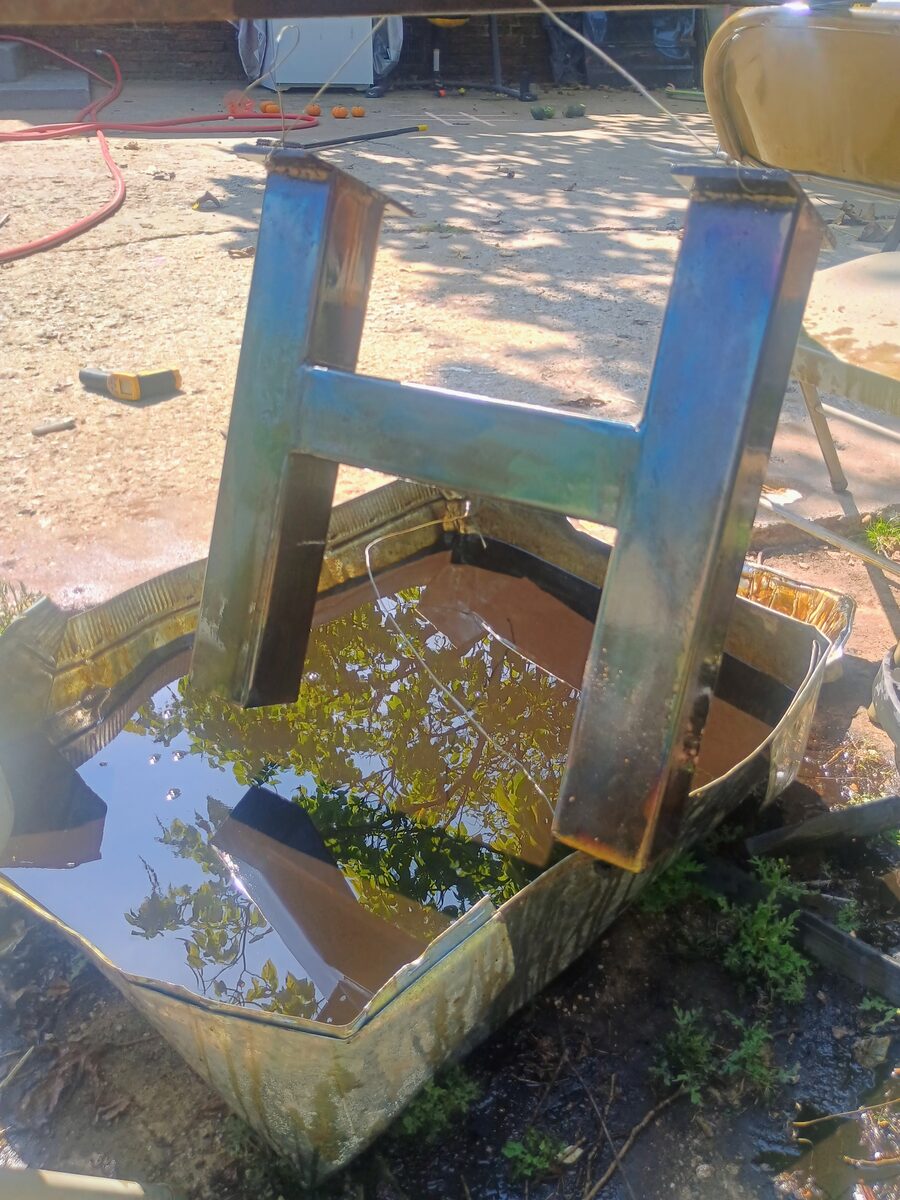
The legs got a heat treatment and a quench in a water bath. The steel picks up beautiful blue and gold tempering colors.
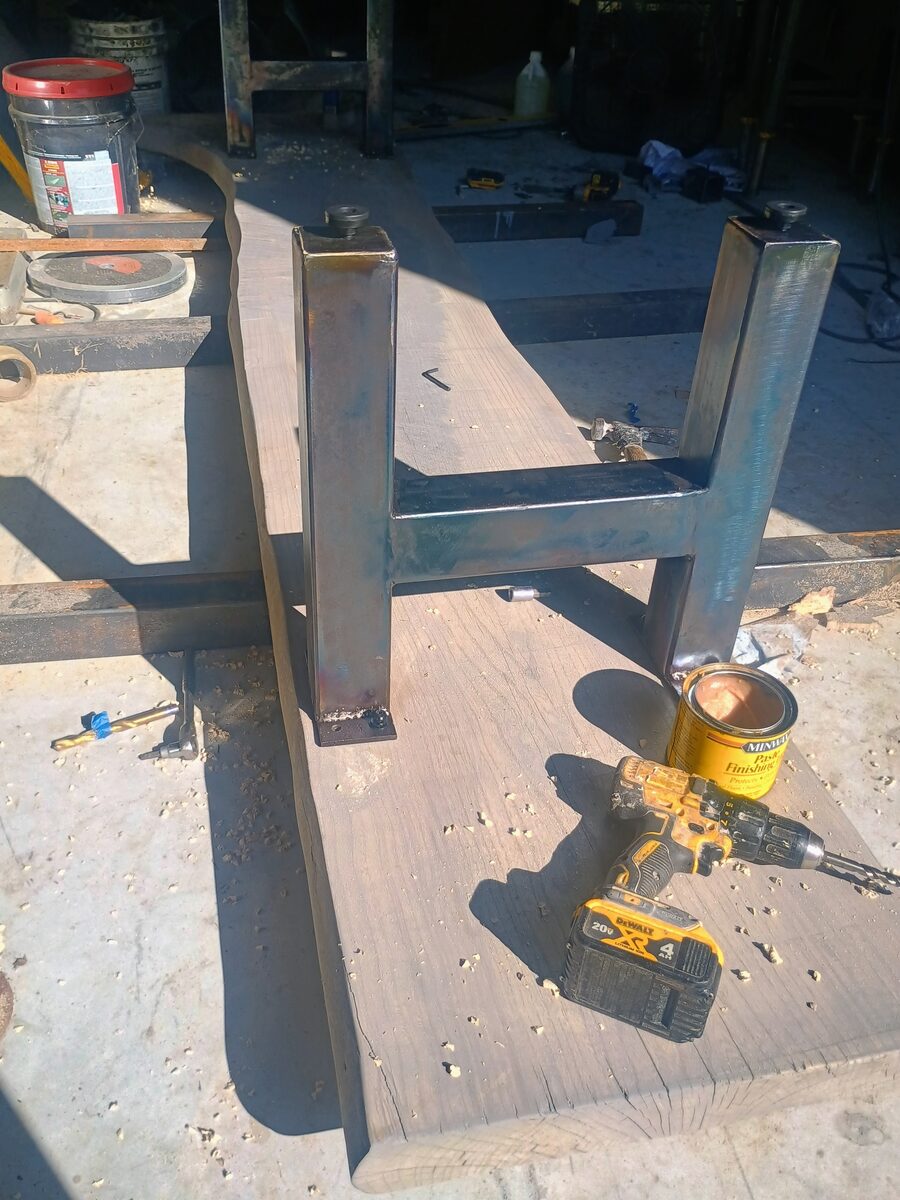
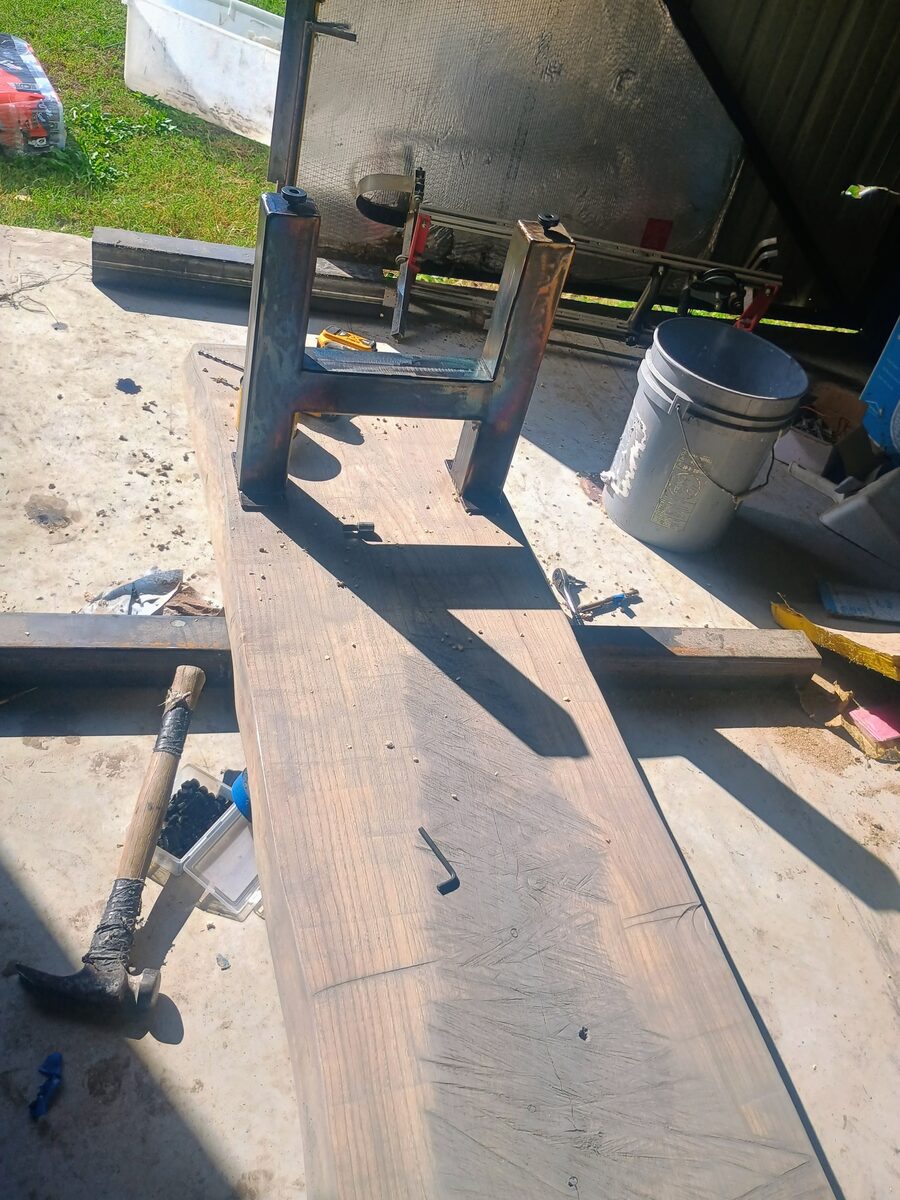
Then the moment of truth: mounting the legs to the slab. Pilot holes drilled through the hackberry with a countersink bit, bolted through from underneath. Minwax polyurethane on the slab first so no raw wood touches the steel.
The Finished Piece
After everything — milling, drying, flattening, sanding, multiple rounds of finish, welding the legs — here it is. Front porch. Brick wall. Done.
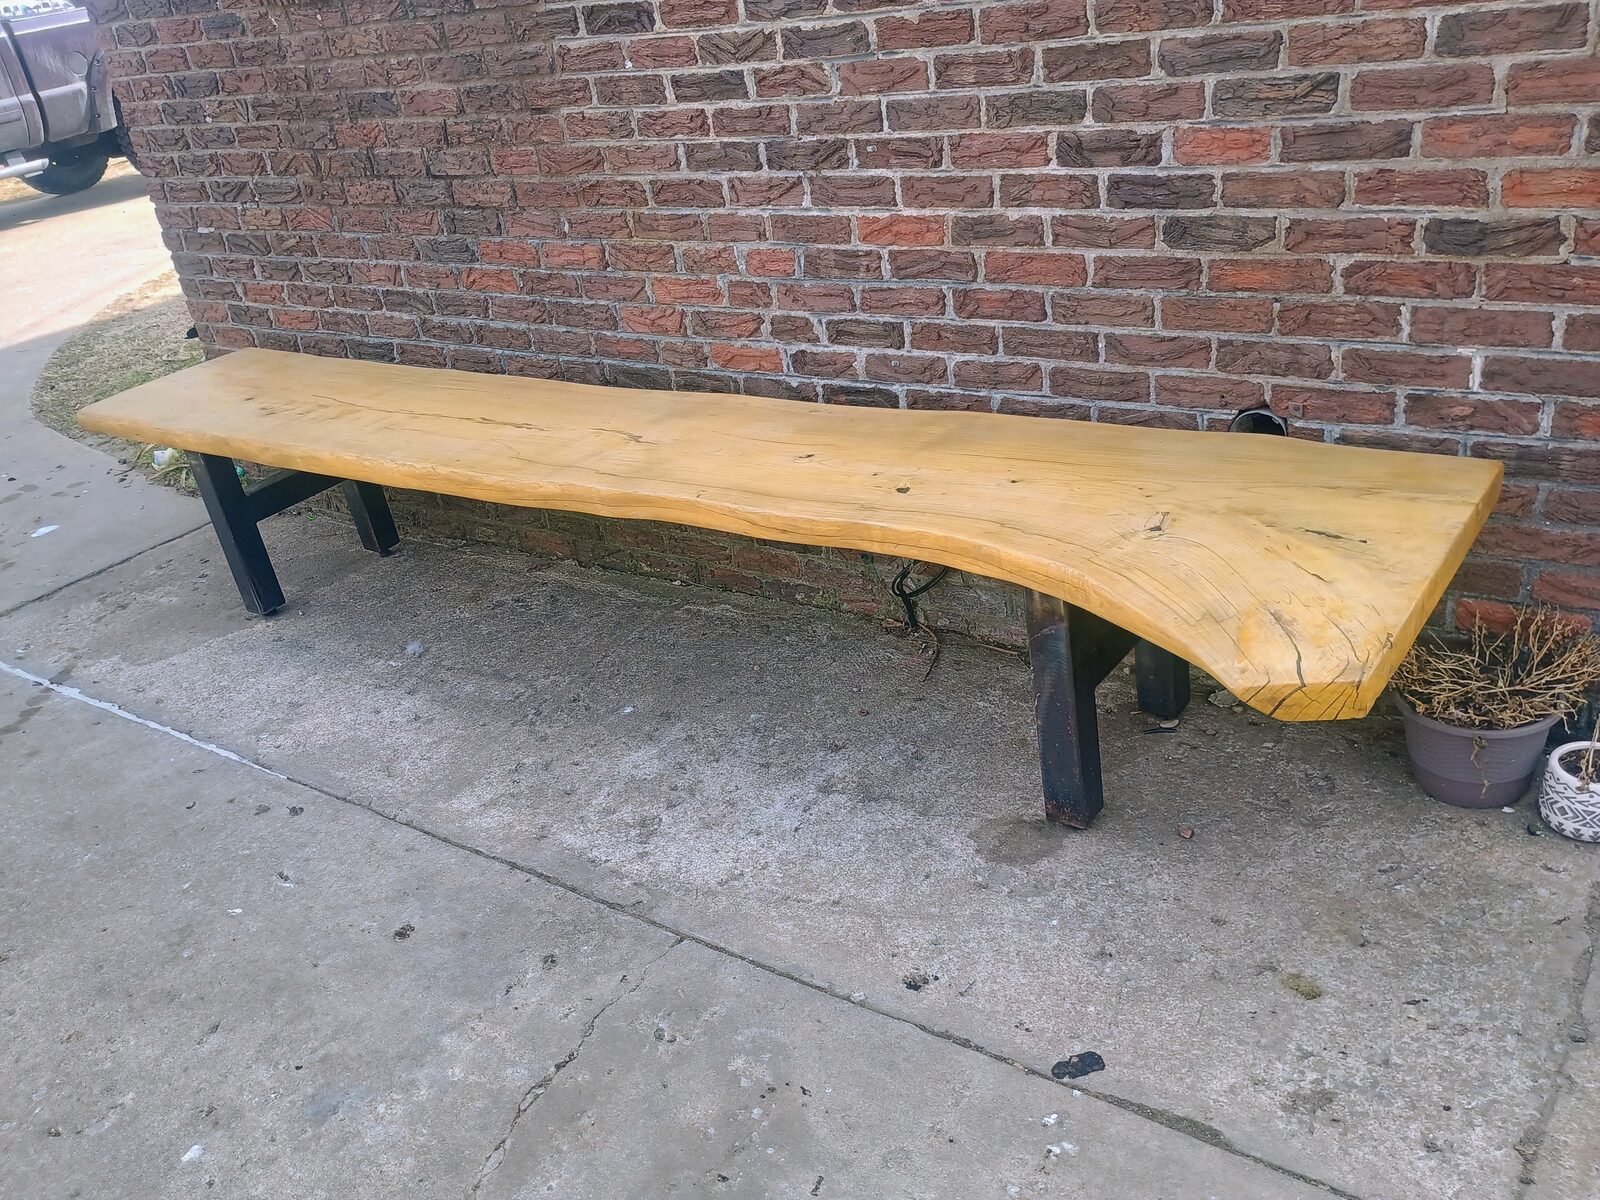
This was my first slab project, start to finish. Cut the tree, milled it, dried it, built the jigs, did the work. Took about a year from log to bench. I've still got more hackberry slabs from this tree — if you're interested in a custom piece, get in touch.