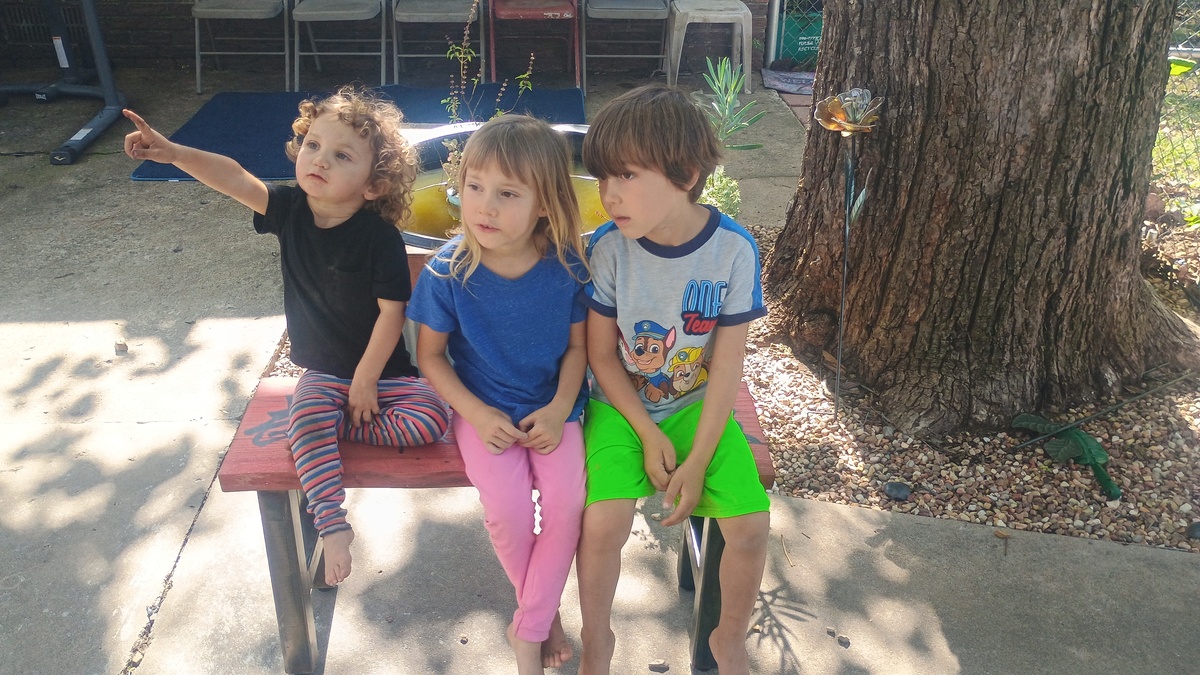
The Kung Fu Bench
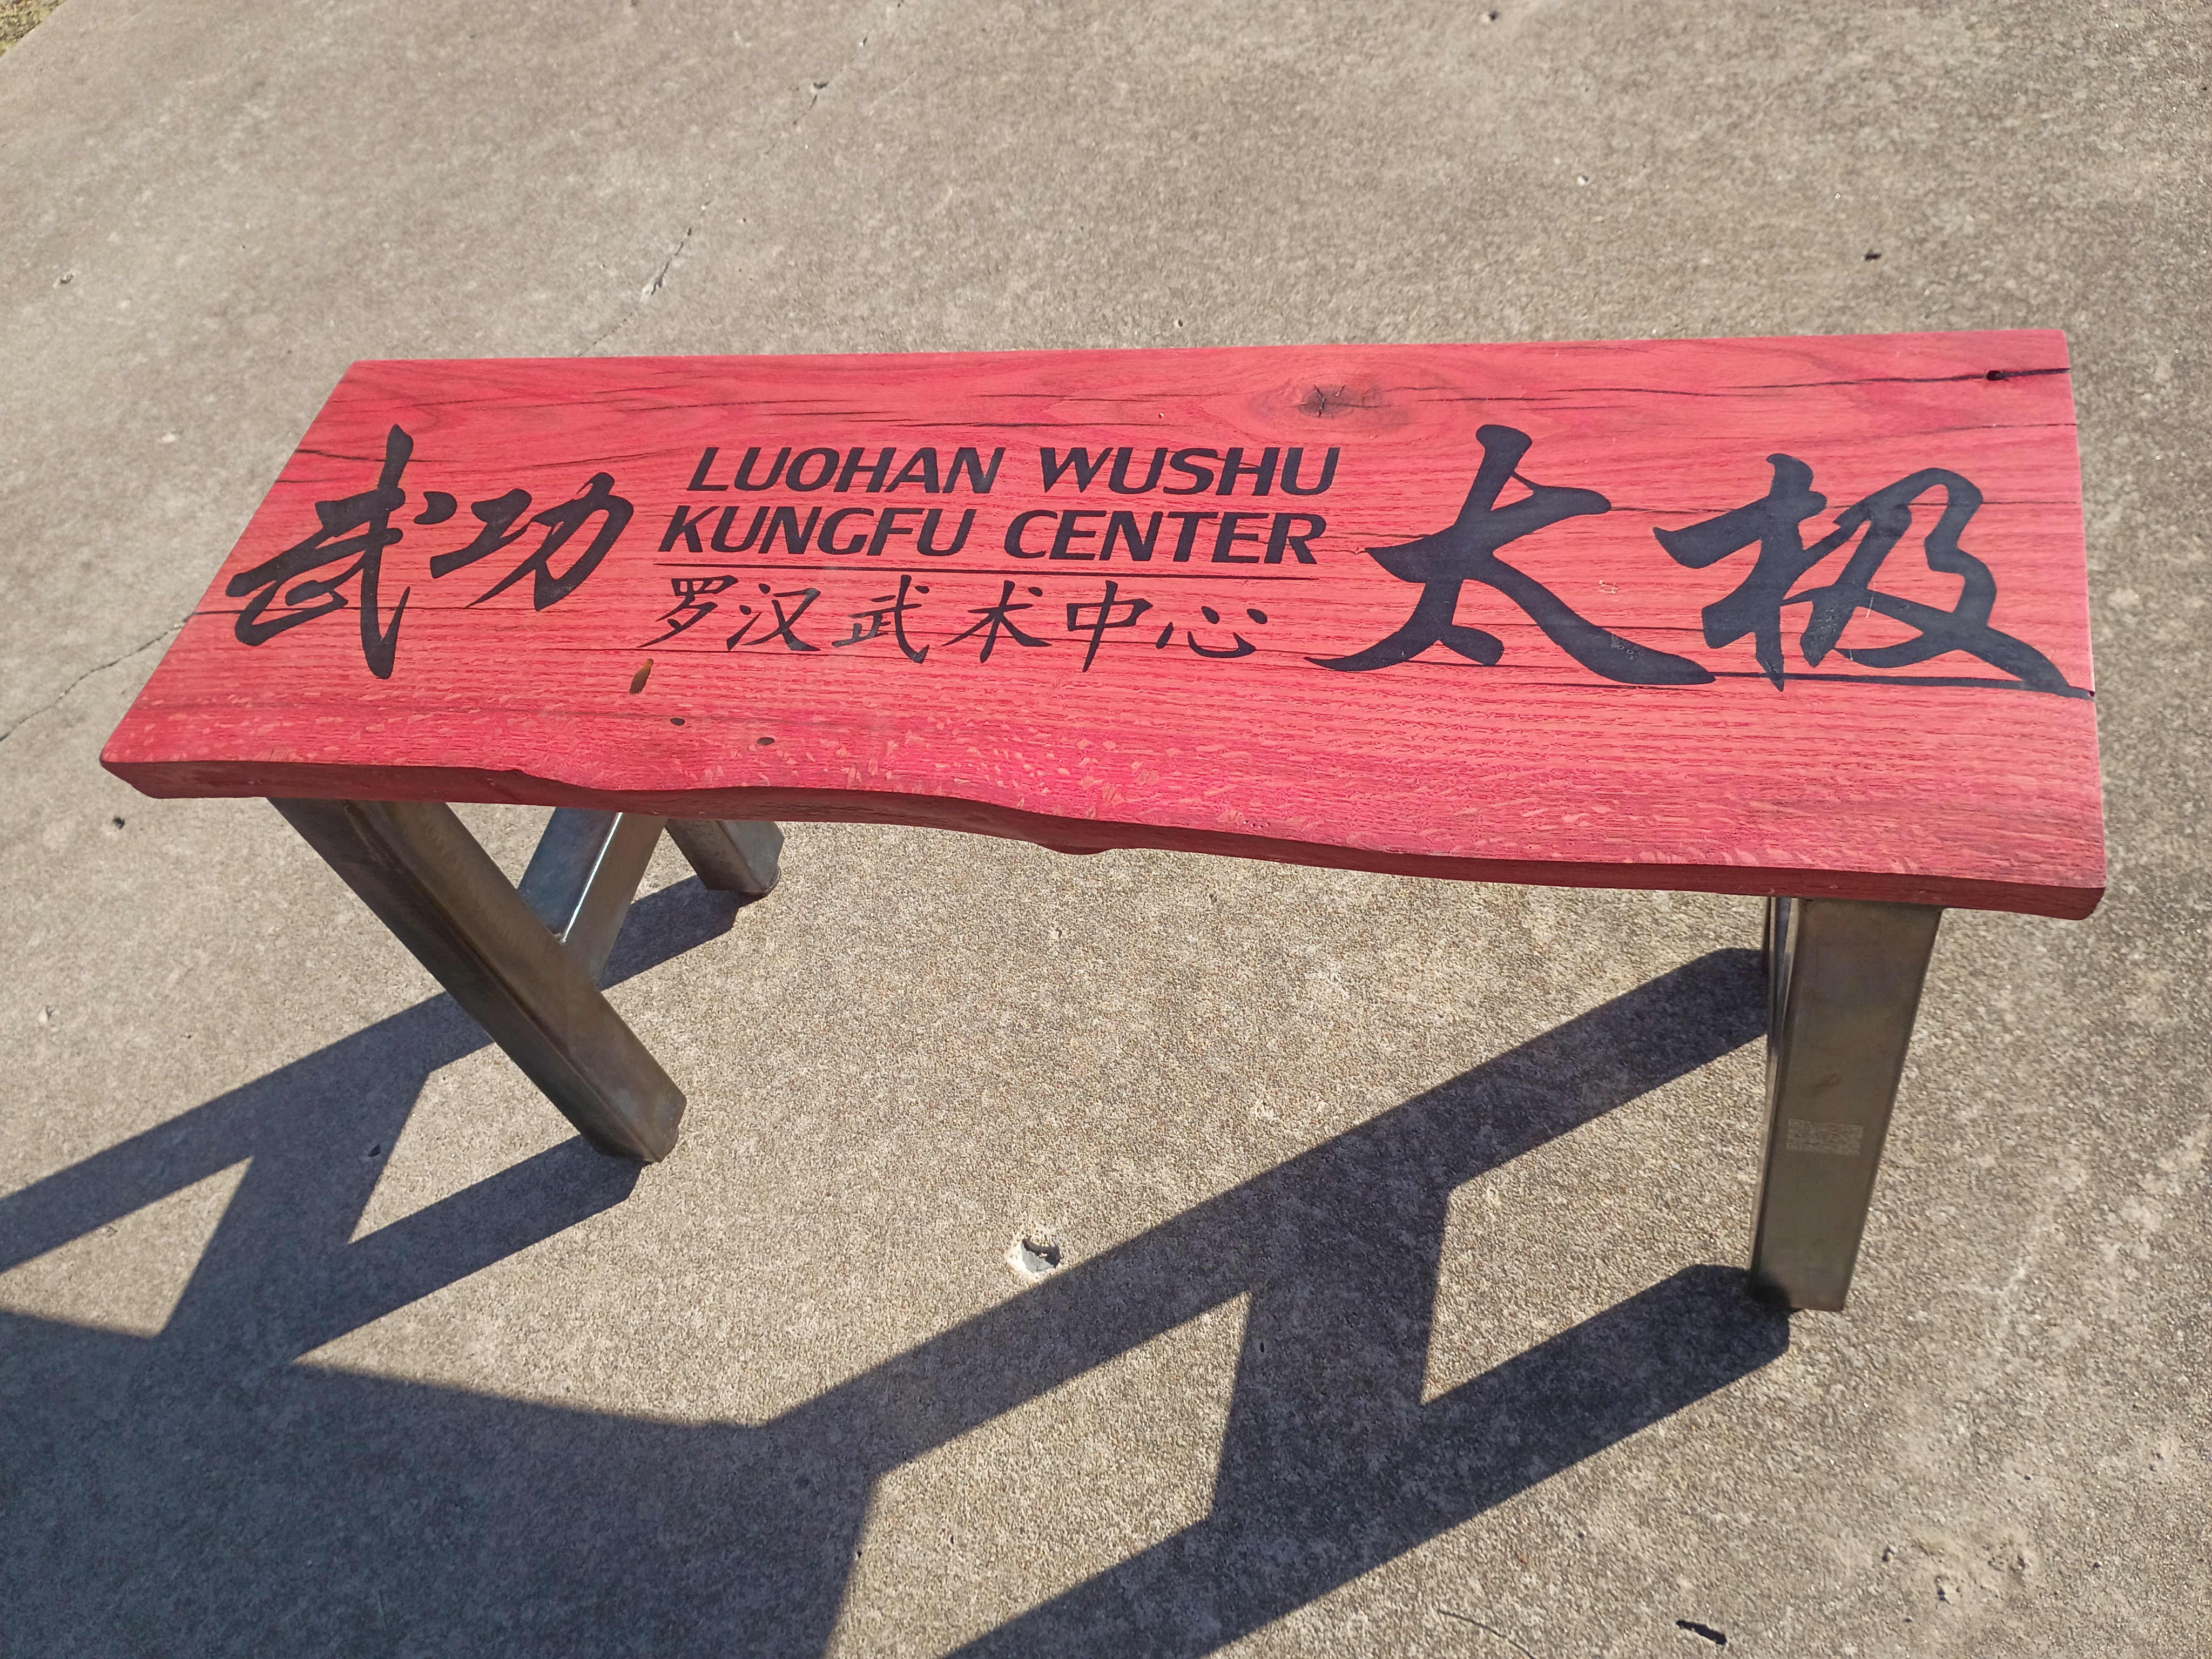
Every project has a story. This one starts with an oak tree and ends as a bench at the Luohan Wushu Kung Fu Center.
Chapter I: The Source
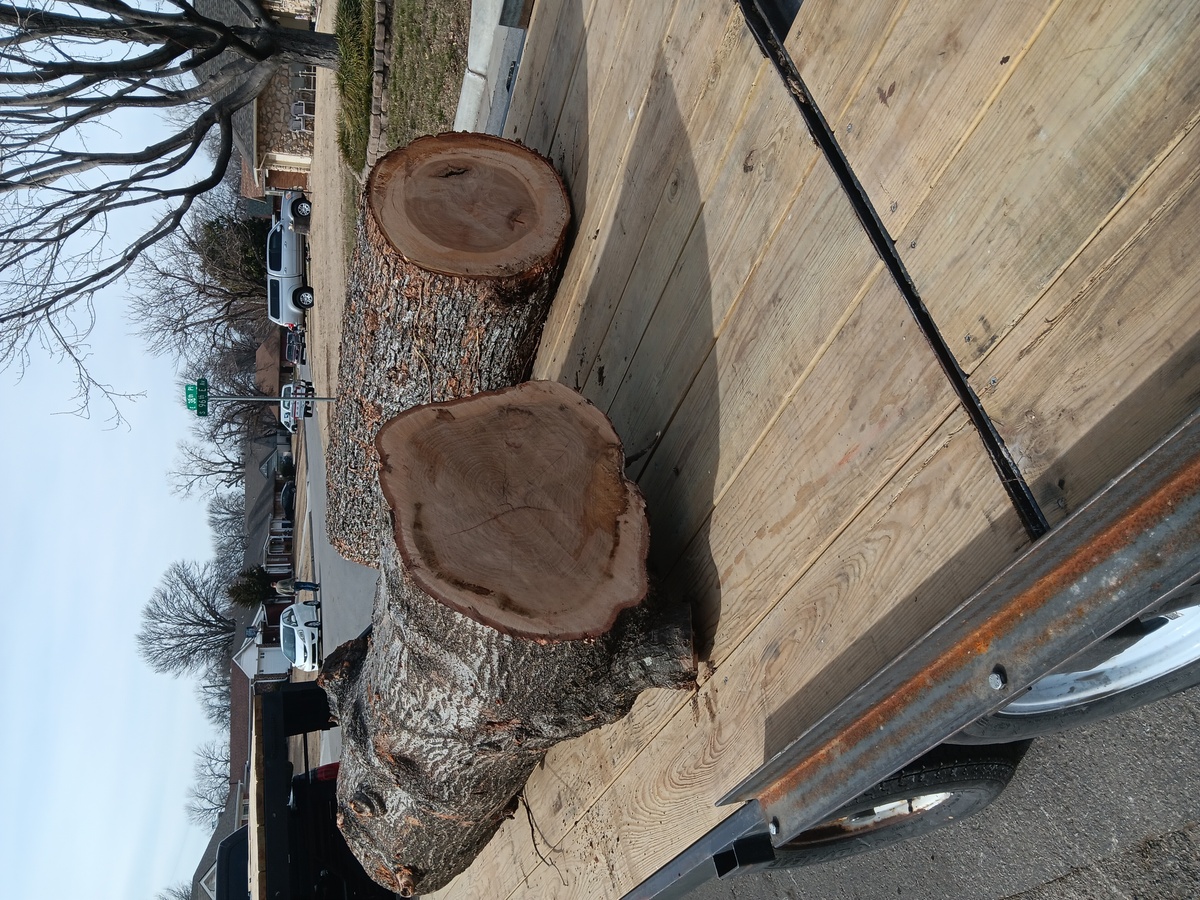
Every project has a beginning.
This one came to me as a log.
Chapter II: Cutting and Drying
Here I am making wood out of wood with my new chainsaw mill. The wind and the wood chips make for a terrible thumbnail image.
This is hard work, especially with hardwood. It only gets worse as it dries. I'm planning on building a massive band saw mill in the near future.
My team gets our new slabs cleaned up.
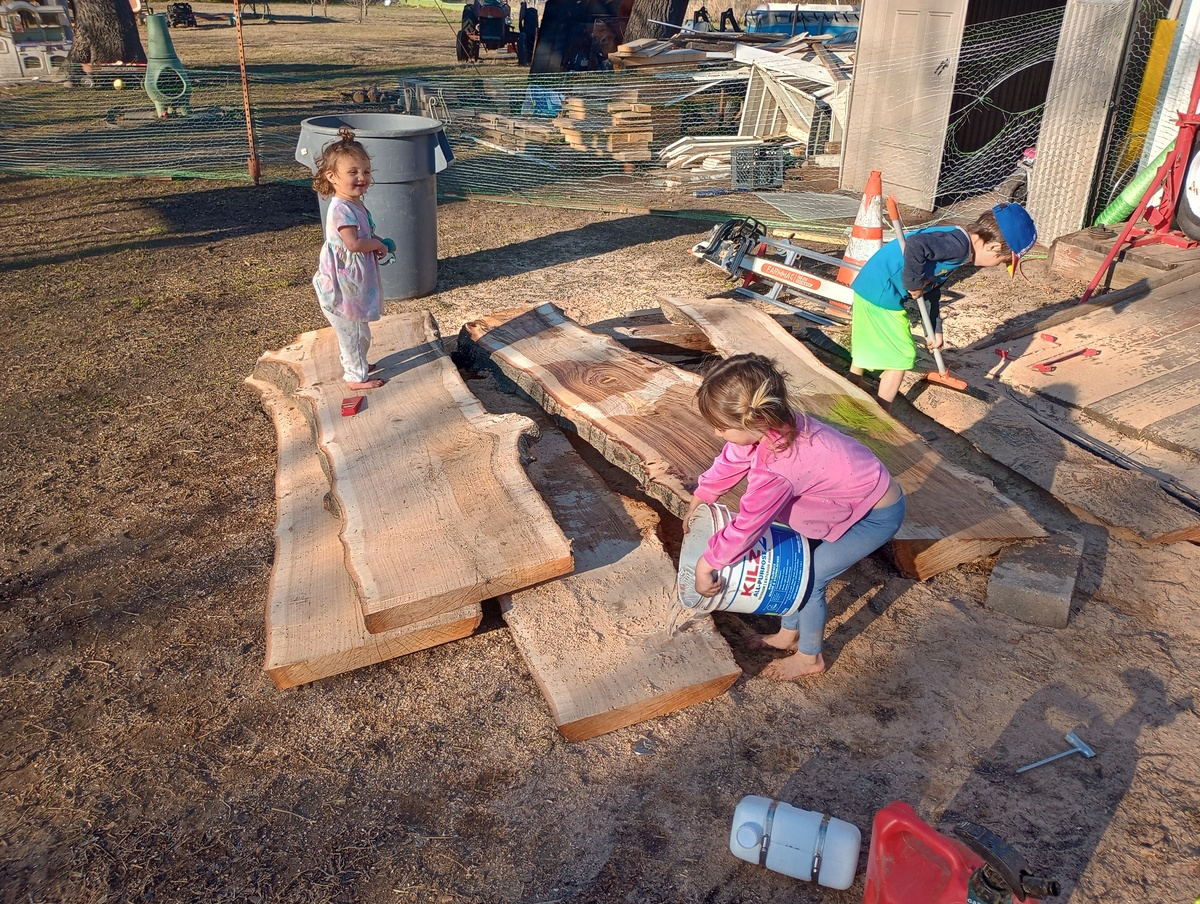
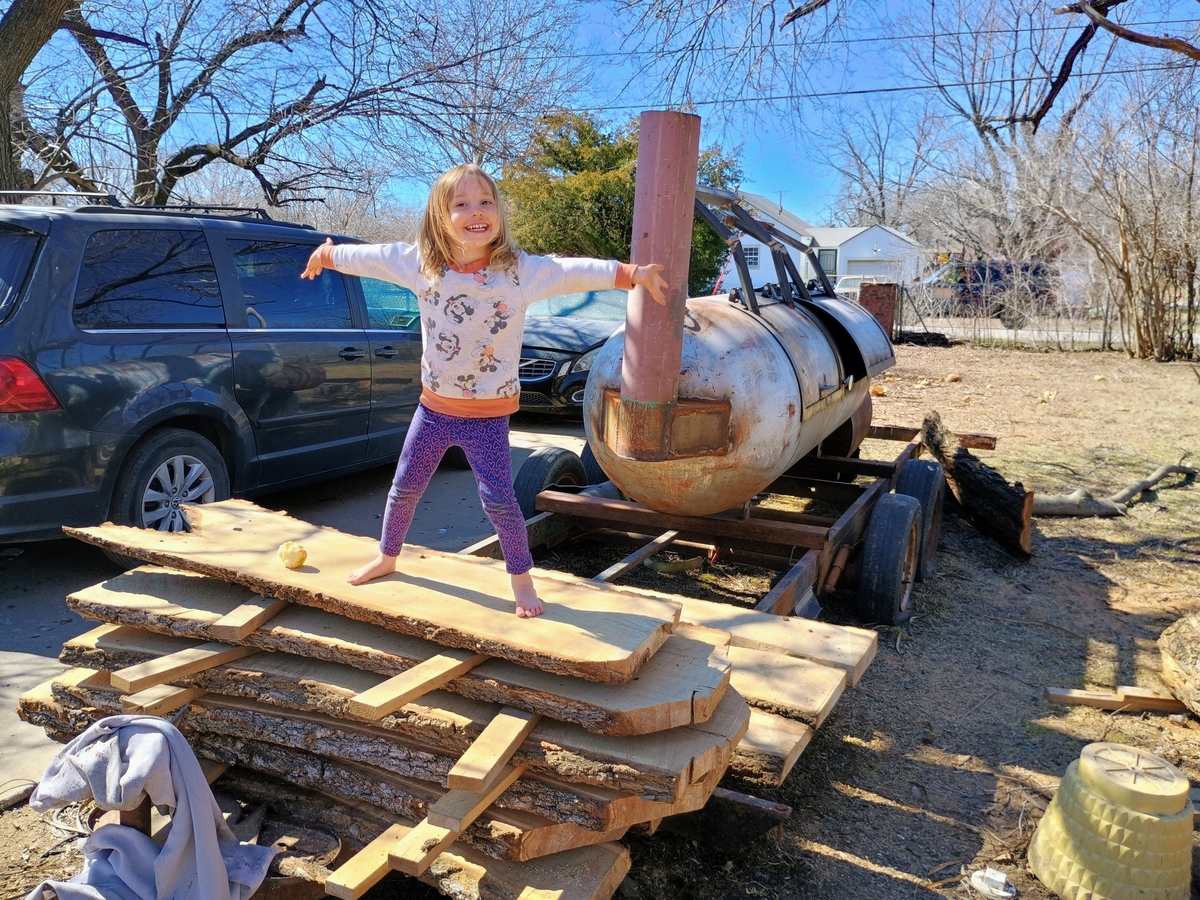
This was before I built my solar kiln, so we just stacked them up on the end of my smoker trailer for the summer. Here's one of my helpers/quality control managers standing on some of the work we did that day.
Chapter III: Getting Started
It's not as dry as it should be here, but I think Sifu is starting to wonder if I'm ever really going to make that bench I promised. So I'm going to get started. It's a one piece build, I think it'll be fine.
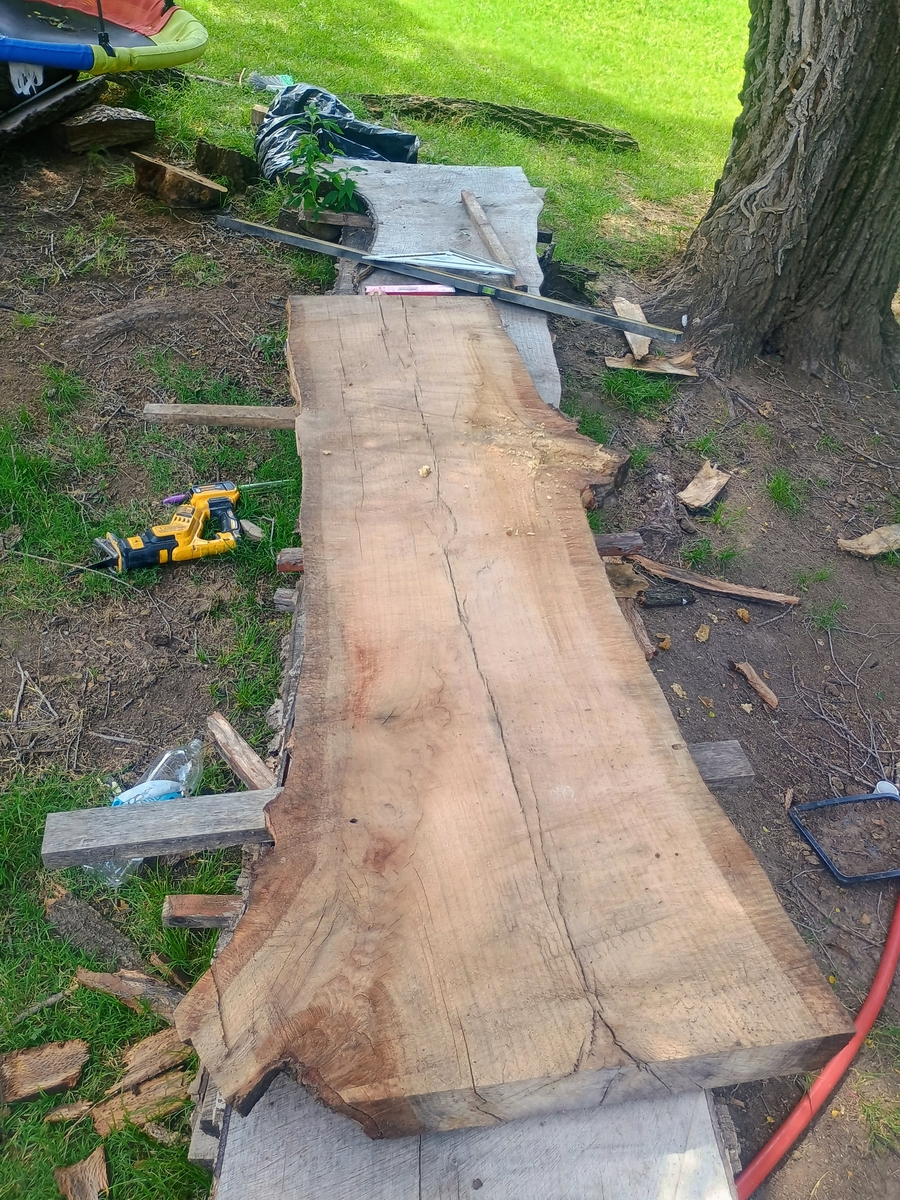
Here's the bench I cut out of it.
Chapter IV: Laser Engraving
After a few performance tests, I dive right into the real run on the new laser engraver.
It ends in failure.
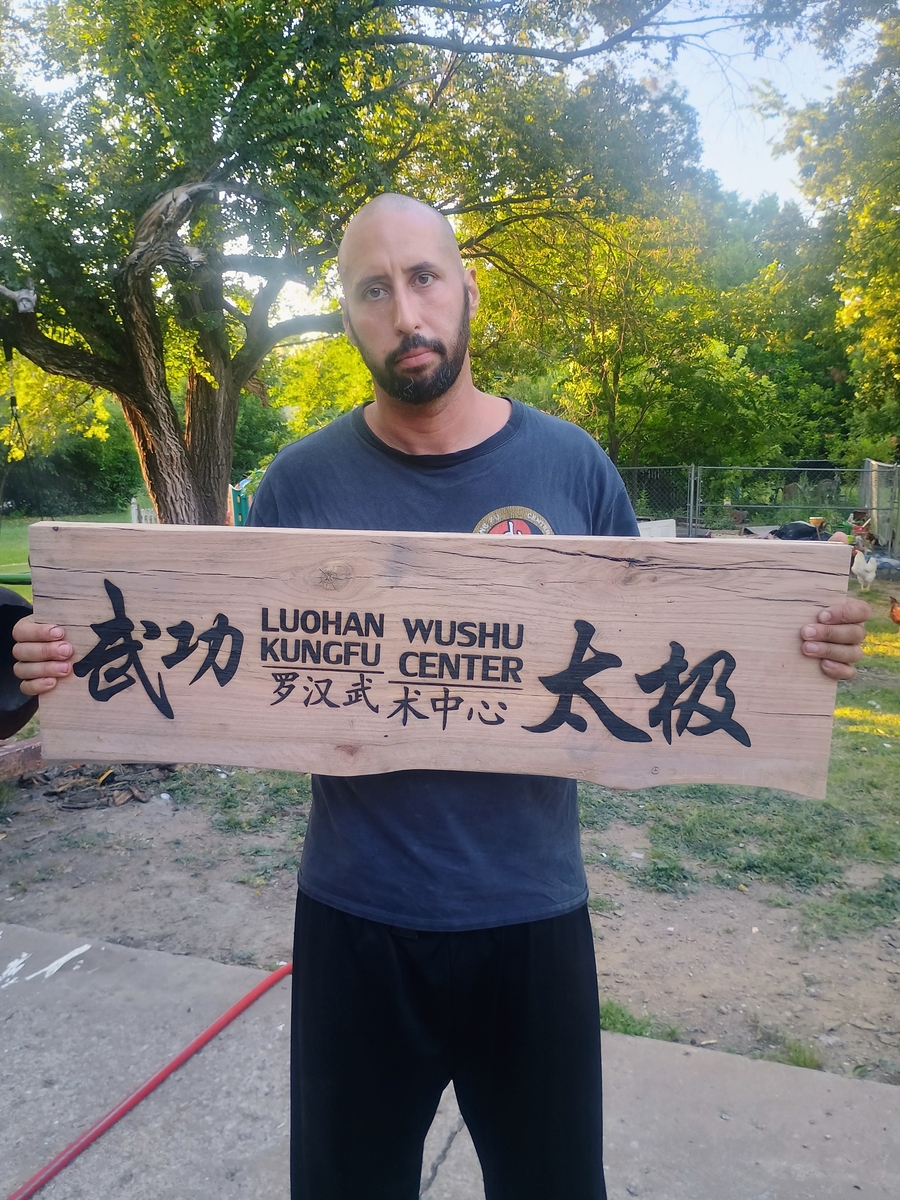
The width of this logo relative to the width of my laser engraver's work area requires precisely positioning 3 separate files on a machine I've never used, with software I've also never used.
I burned it fairly deep, and decided that it would be too thin to use after planing it down again, so we're back to the beginning.
Chapter V: Cutting Bench #2
Here I start over with a different slab, and we go through it all again.
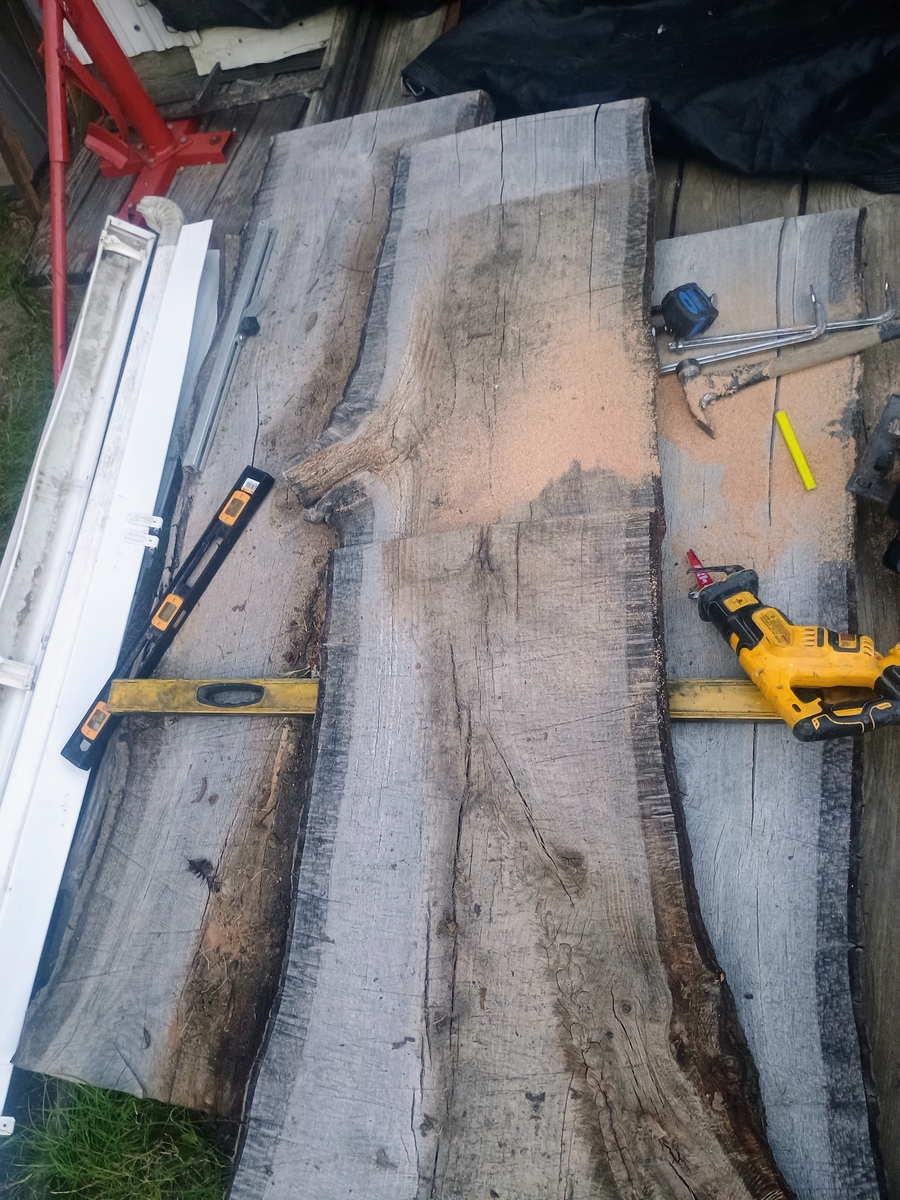
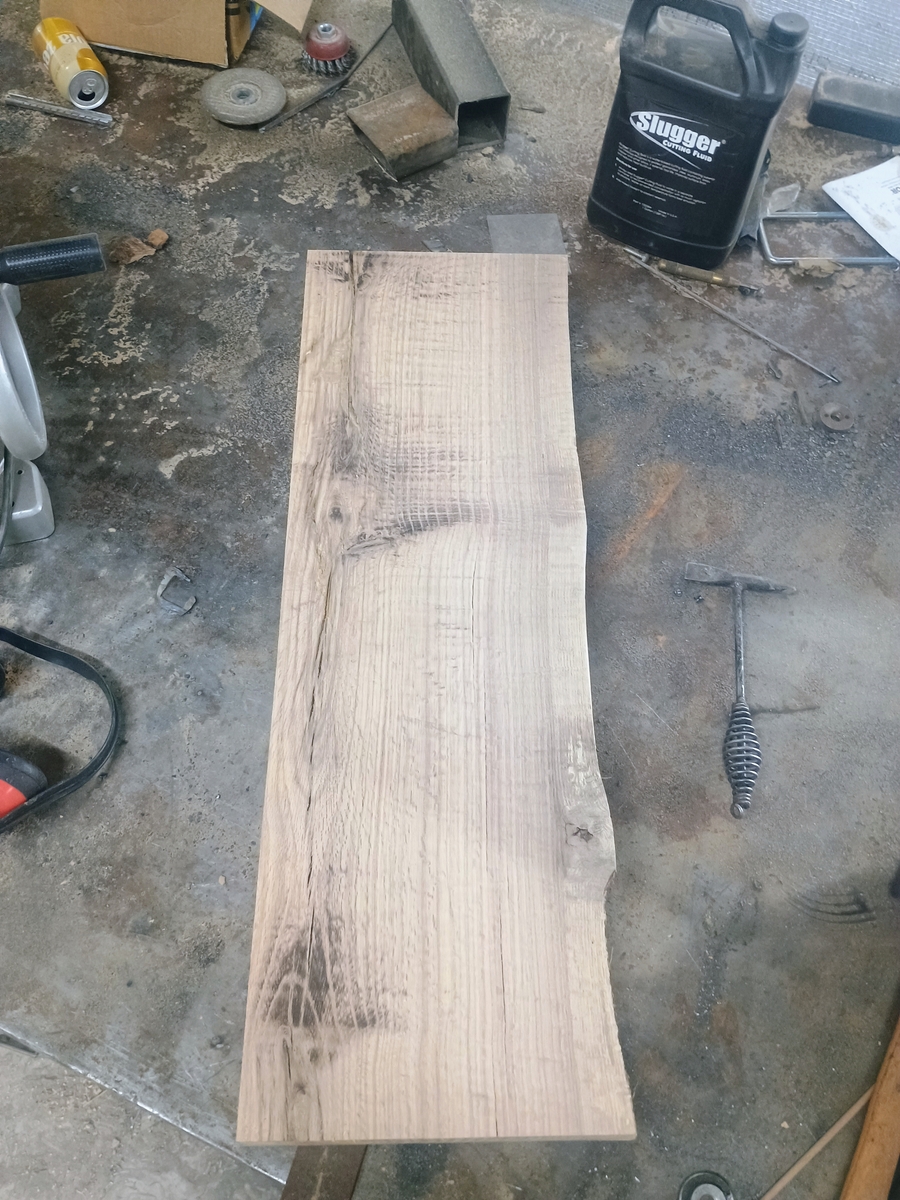
Here's the bench I cut out of it.
Chapter VI: More Problems
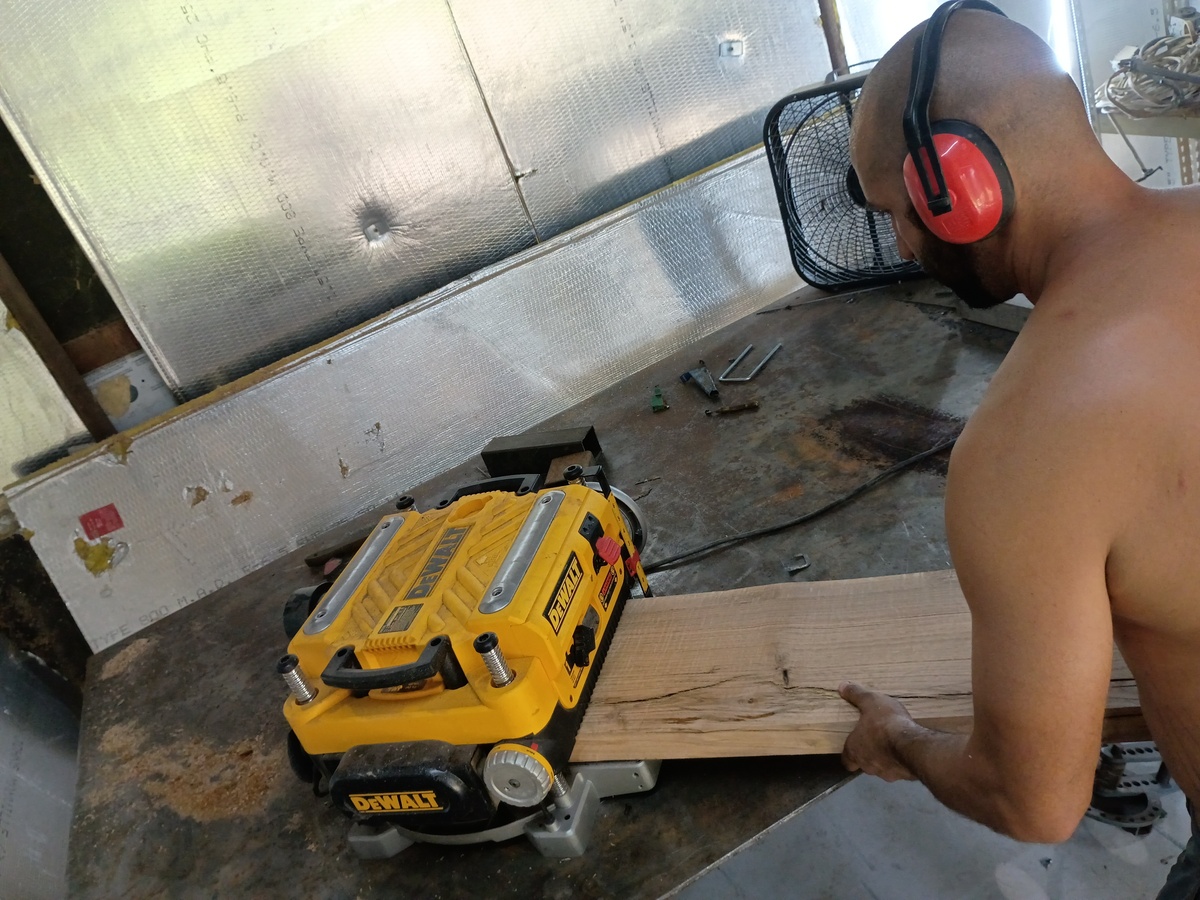
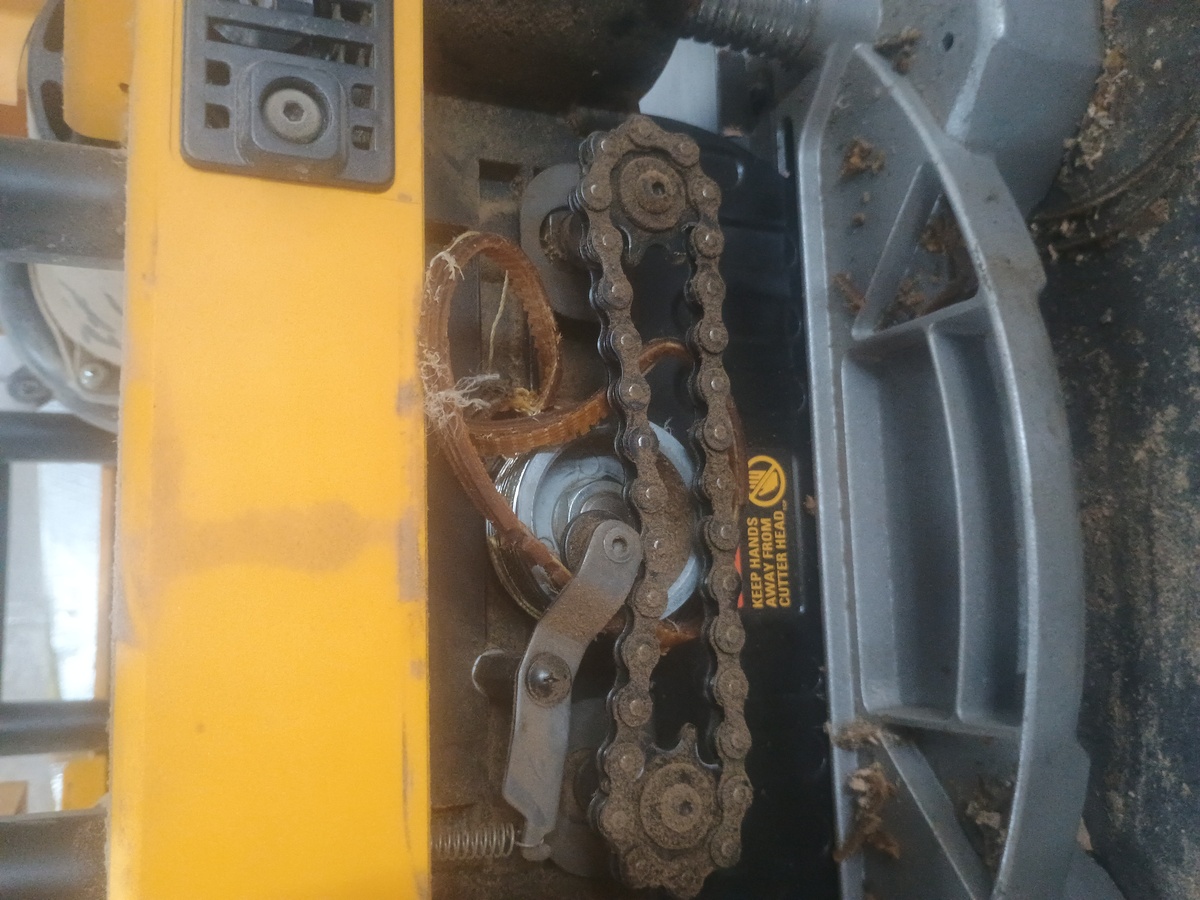
Of all of the things that went wrong next, all I have to show you is a mangled belt on my planer.
Here I'm polishing the epoxy, thinking it's going to make it shiny and translucent to show off the depth. It seems that the problem is it's just too dark.
Let's gently wet sand the logo to restore its depth and shine....
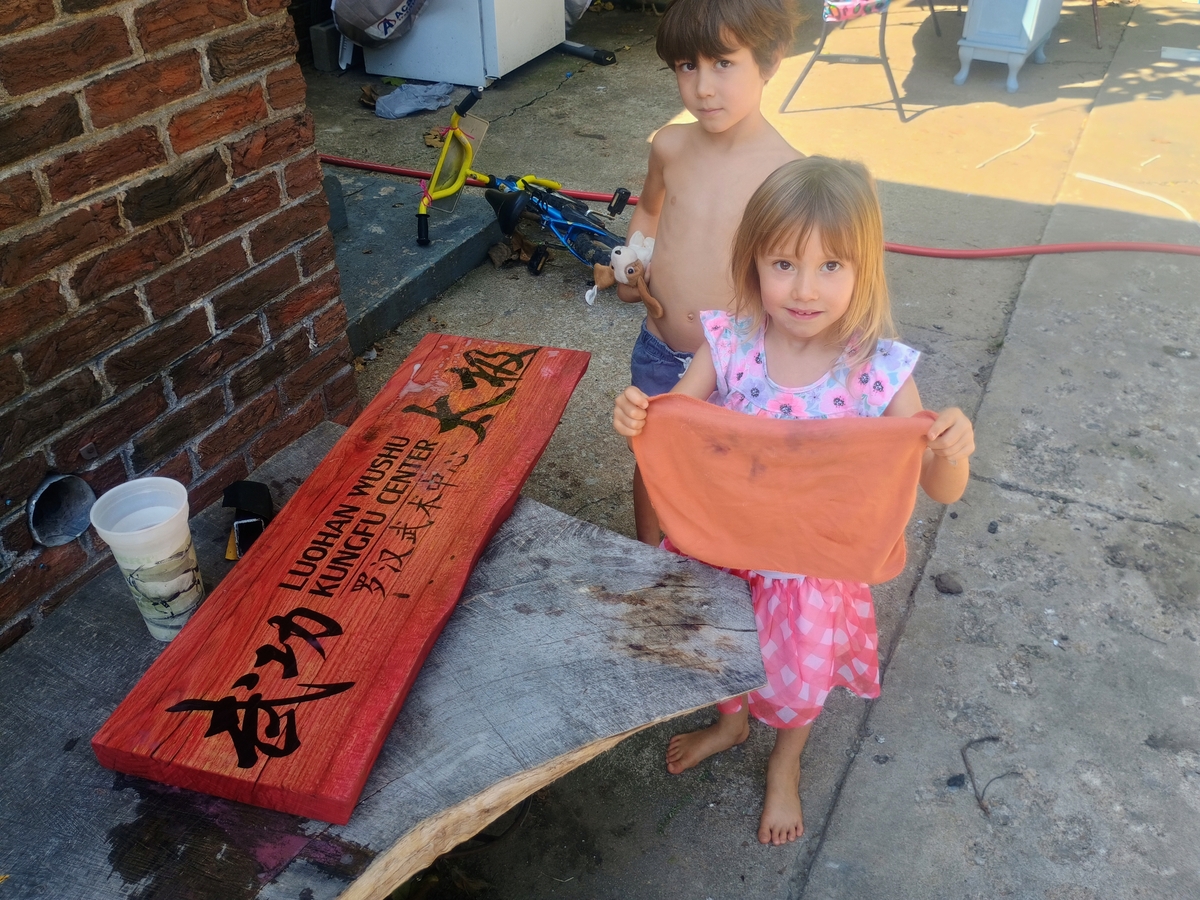
aaaaand it's ruined.
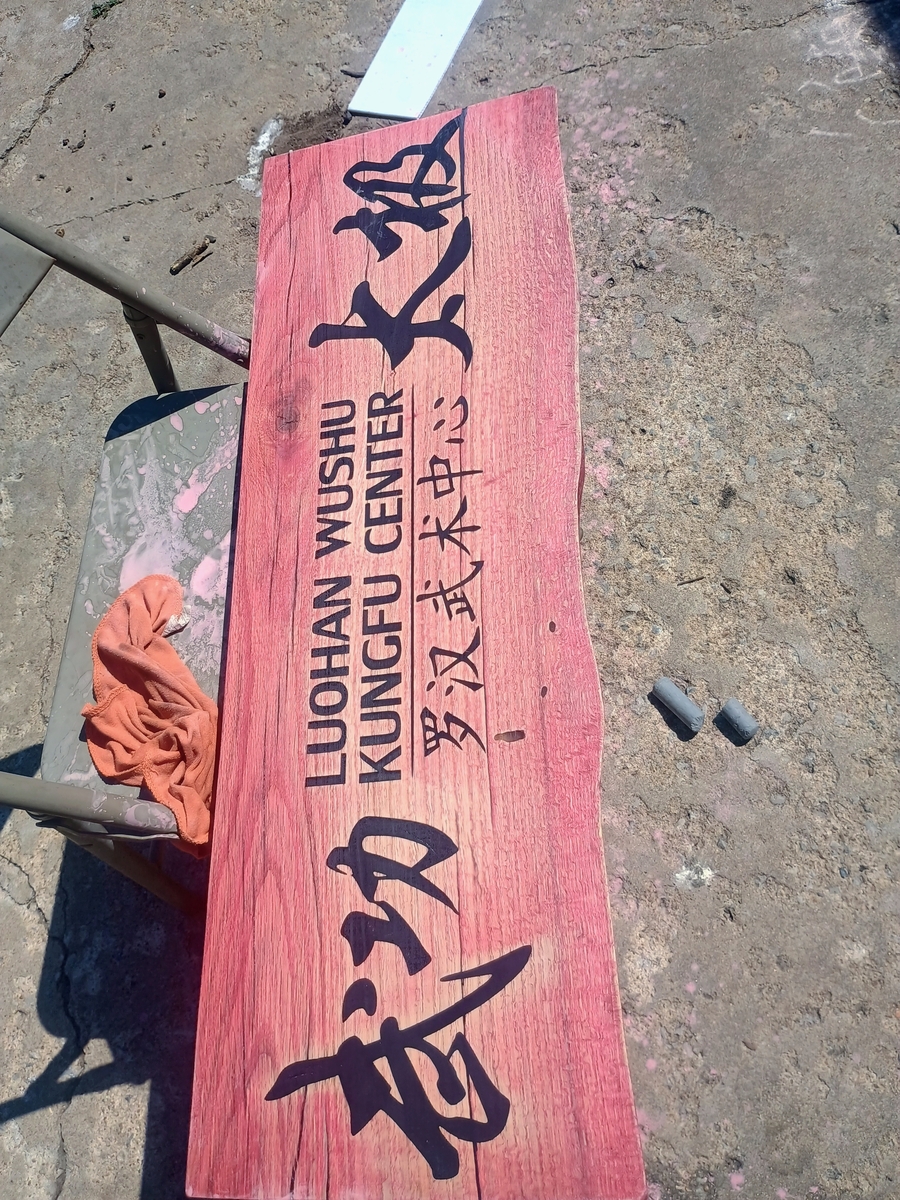
So we sand it back down and start the finishing over.
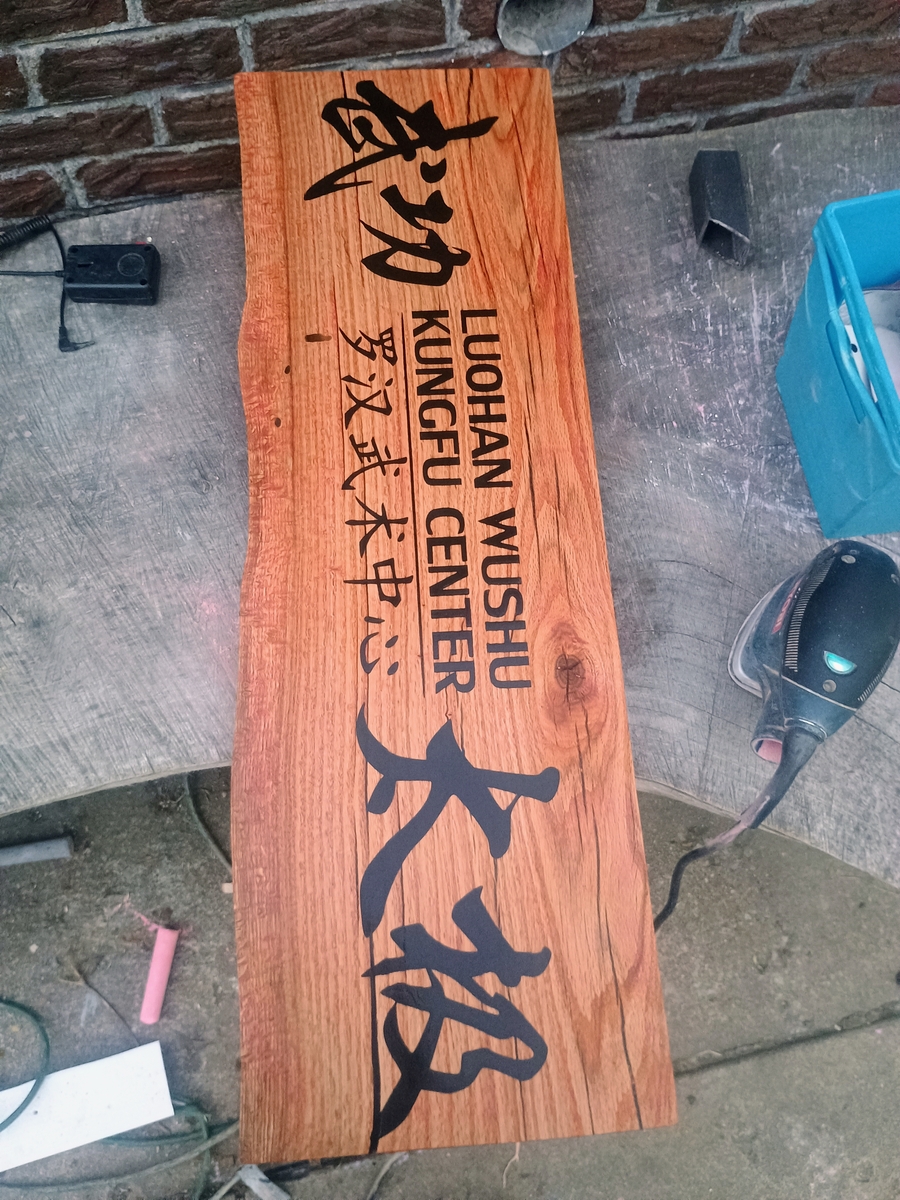
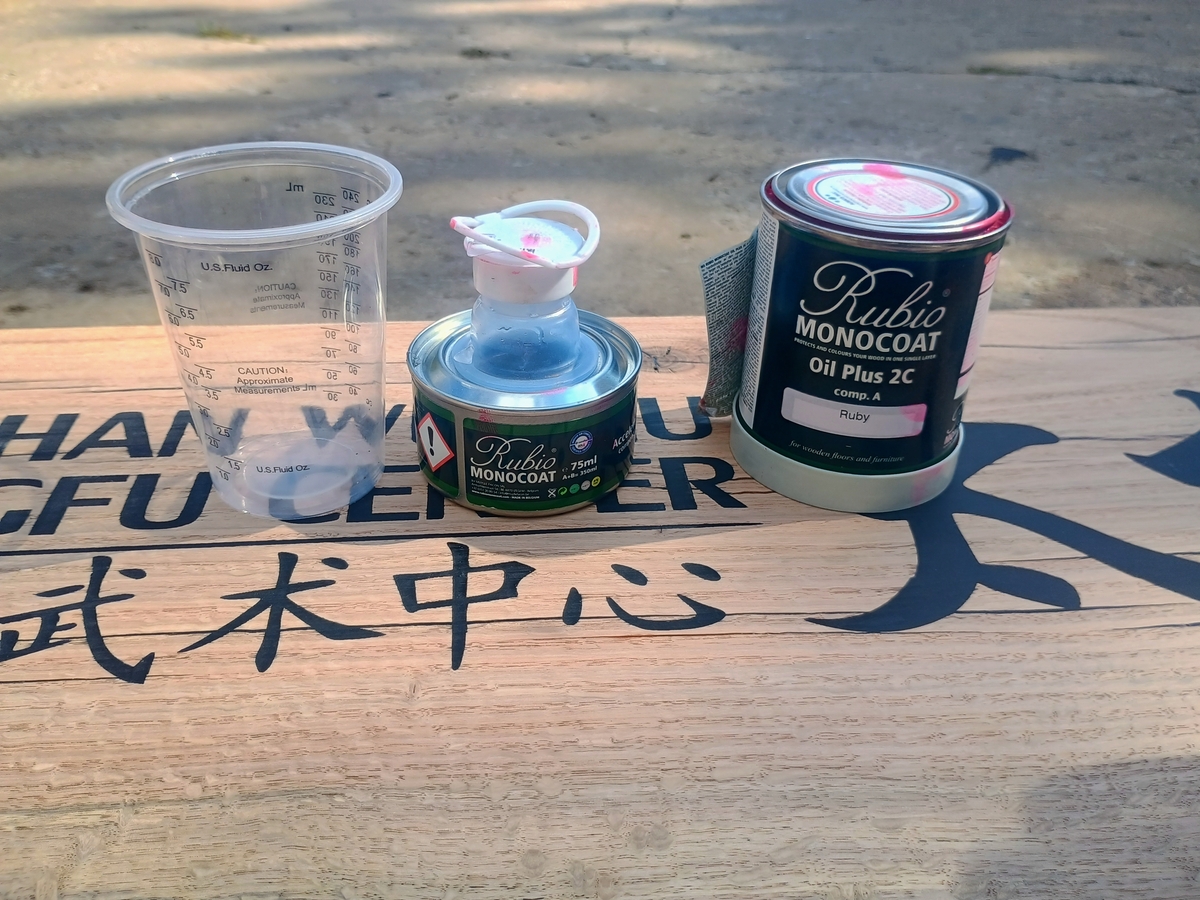
This uses up the last of my Rubio Monocoat.
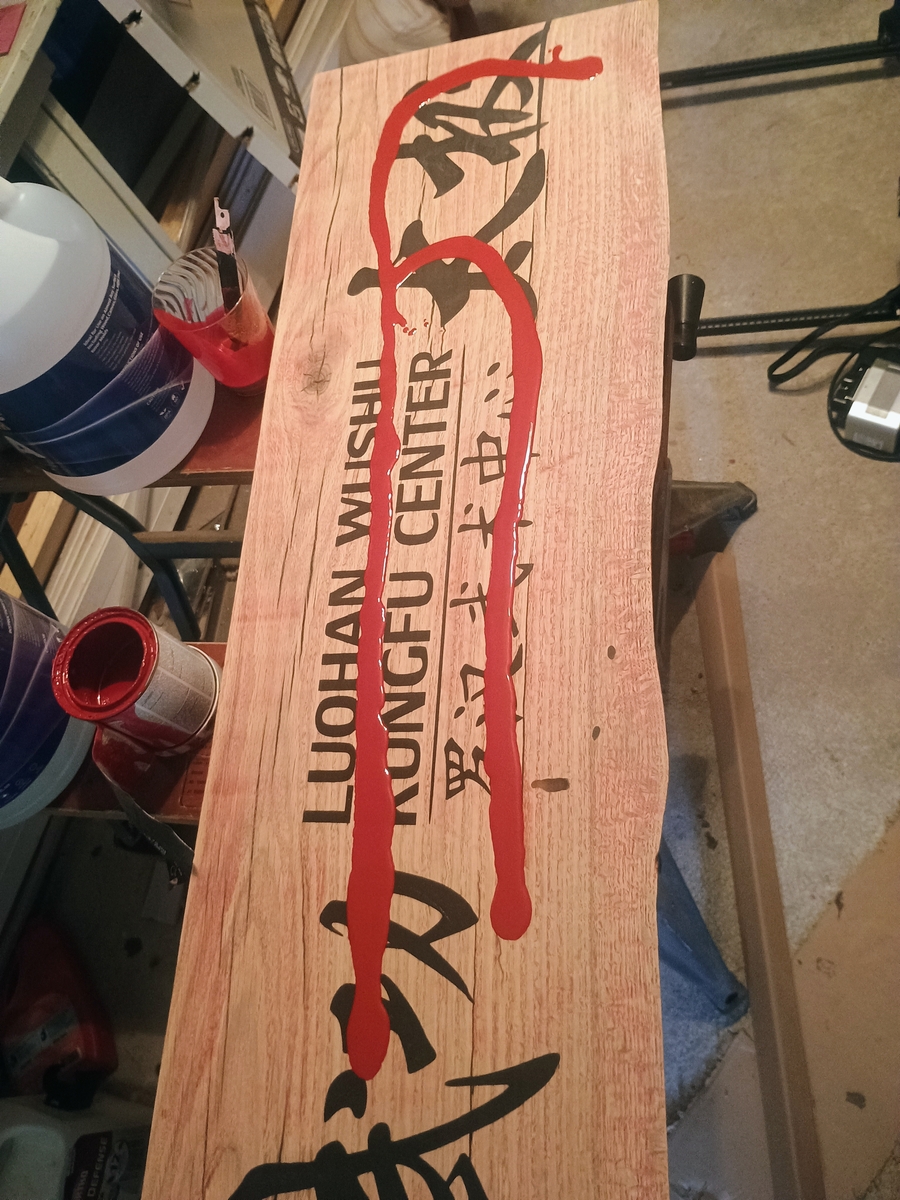
Chapter VII: Victory is Mine.
I got the planer back in action, a new sander, figured out the laser engraver (you know, somewhat), and we get the following.
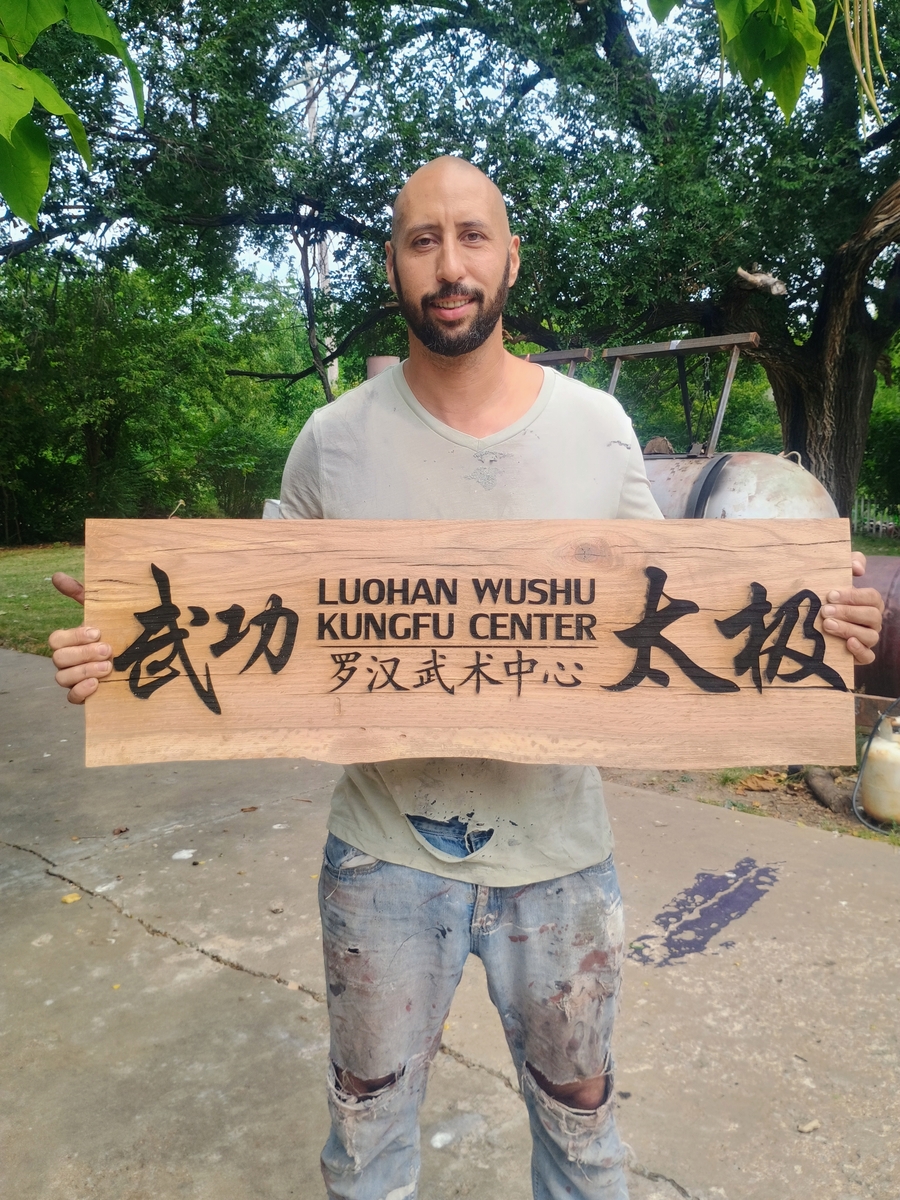
Chapter VIII: Finishing.
The laser engraving is about a 1/4 inch deep, and I decide I'm going to inlay it with epoxy. This is also my first time working with epoxy in this capacity. I've got the old bench to help me with testing.
Of course I immediately disregard any testing and go straight for the main event. I like the way it turned out in the end, though it's not exactly how I'd envisioned. I didn't intend for the epoxy to be so dark that it doesn't show its depth.
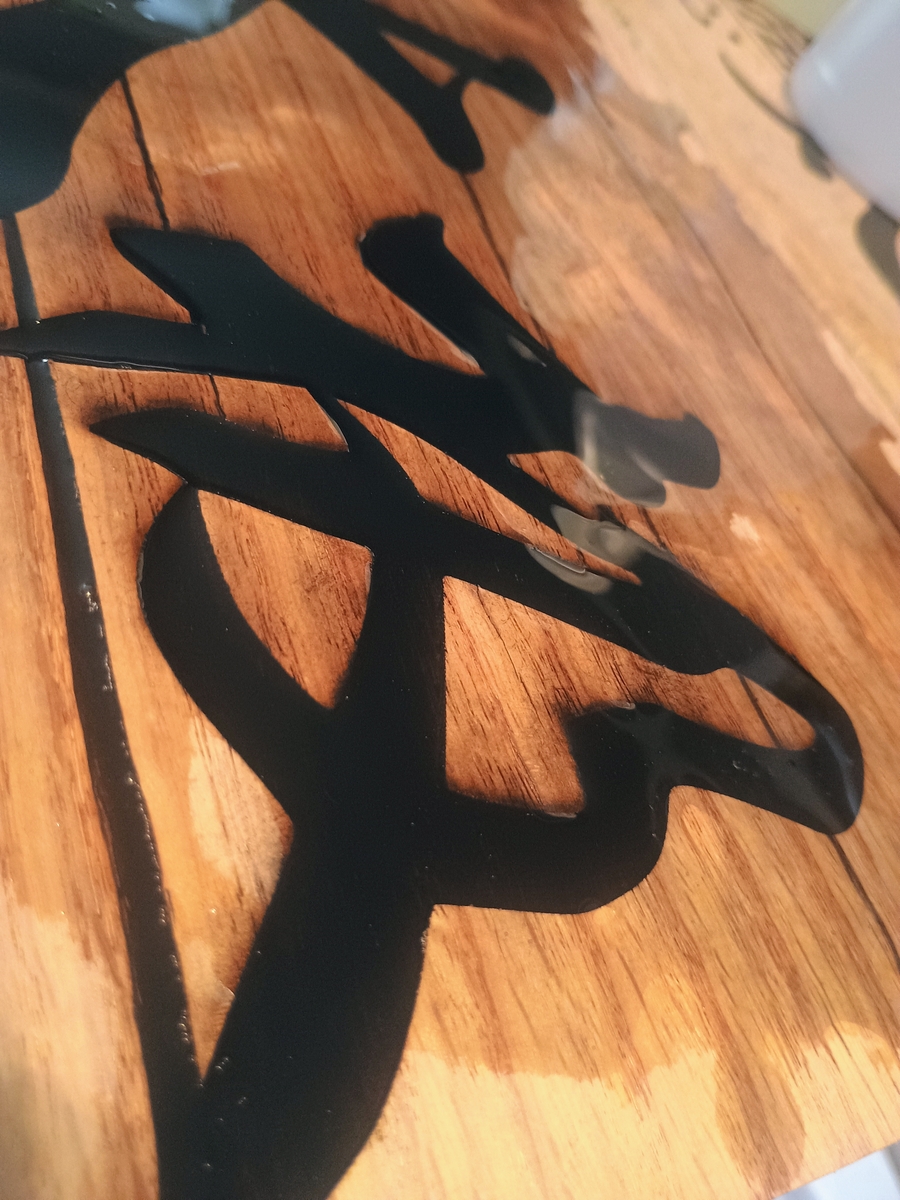
After curing, more planing, and sanding, we're cleaning it up and water popping the grain in preparation of the Rubio Monocoat we're finishing it with.
Chapter IX: Legs.
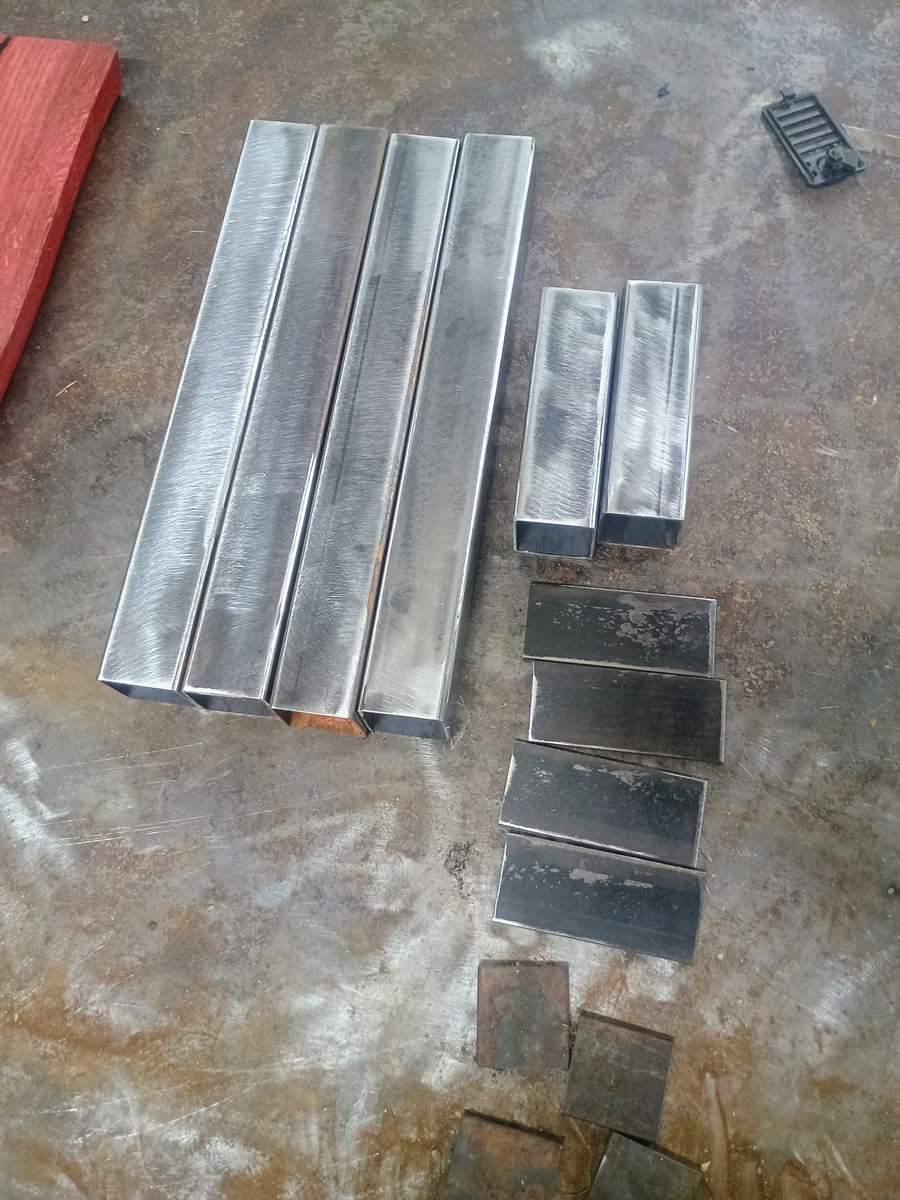
It's time for the legs. It would have been significantly cheaper and easier to buy ready made legs on Amazon, and they would have looked great. But I wanted this to be special and unique. Besides, what's the point of a welding shop and all these tools if I'm not going to use them?
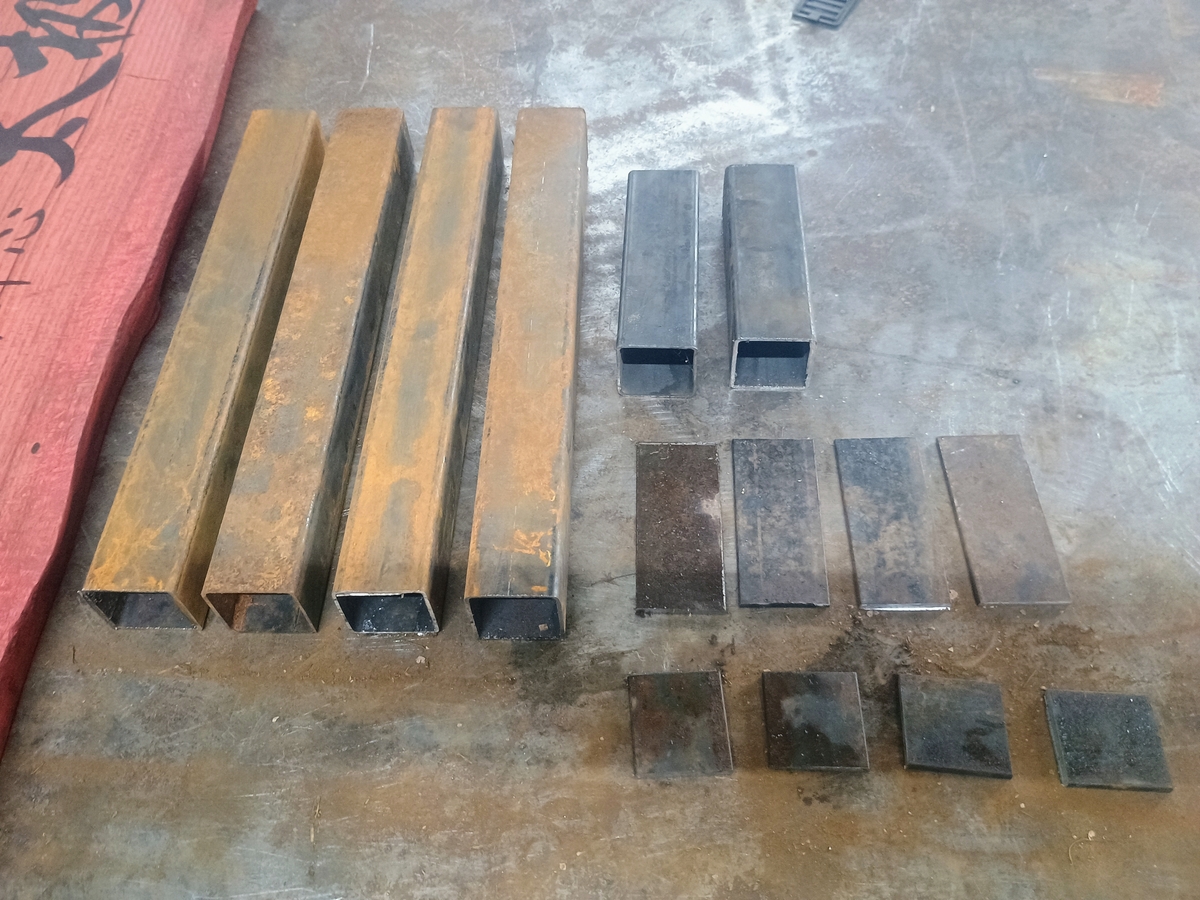
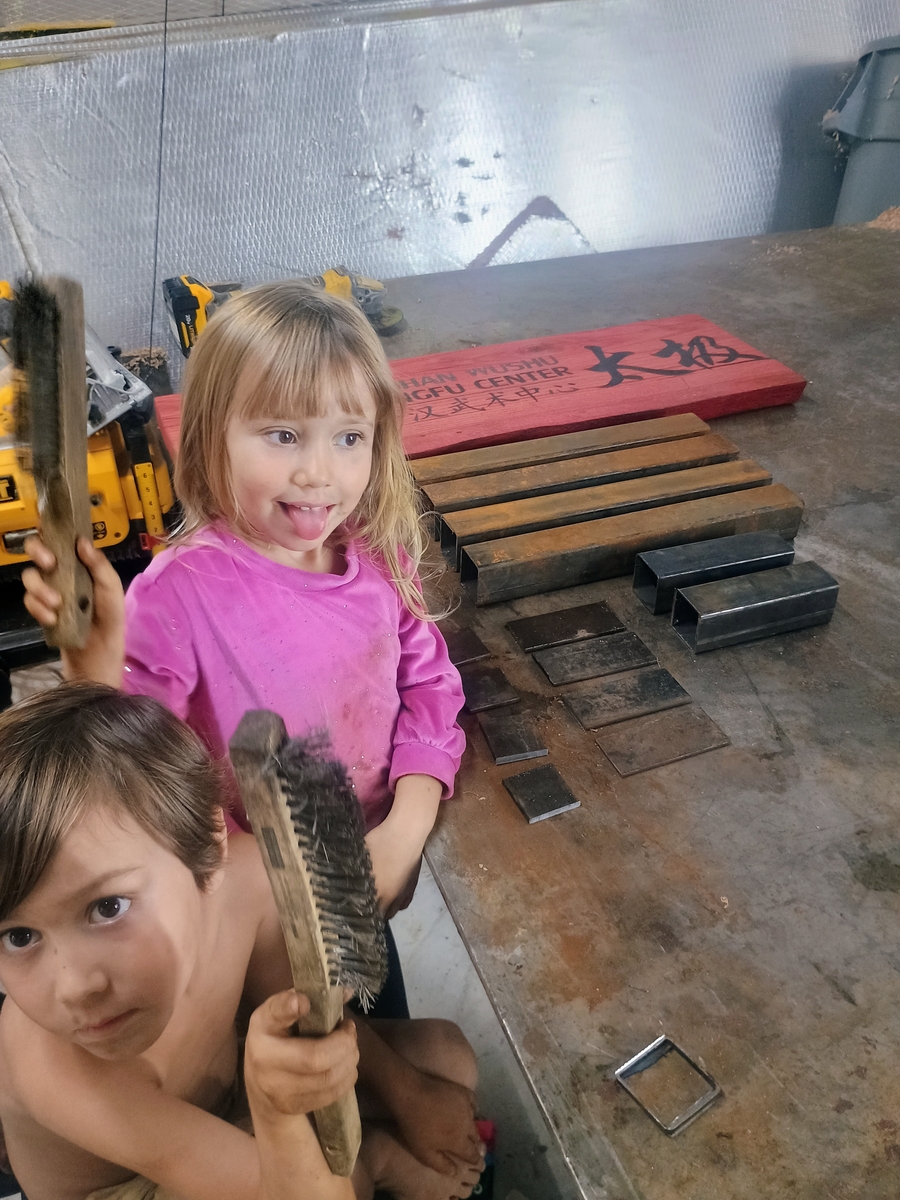
My team is ready to clean up our pieces for welding.
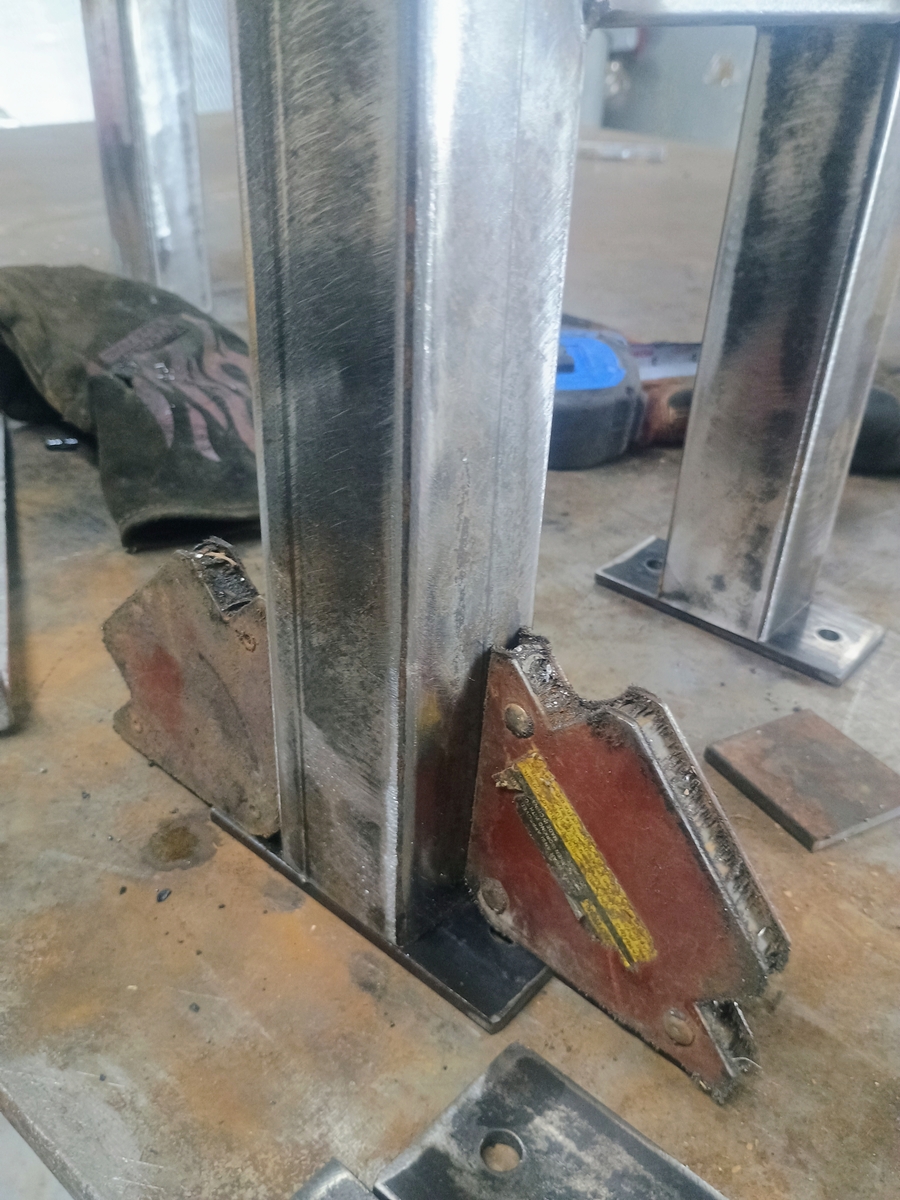
Welding the pieces together.
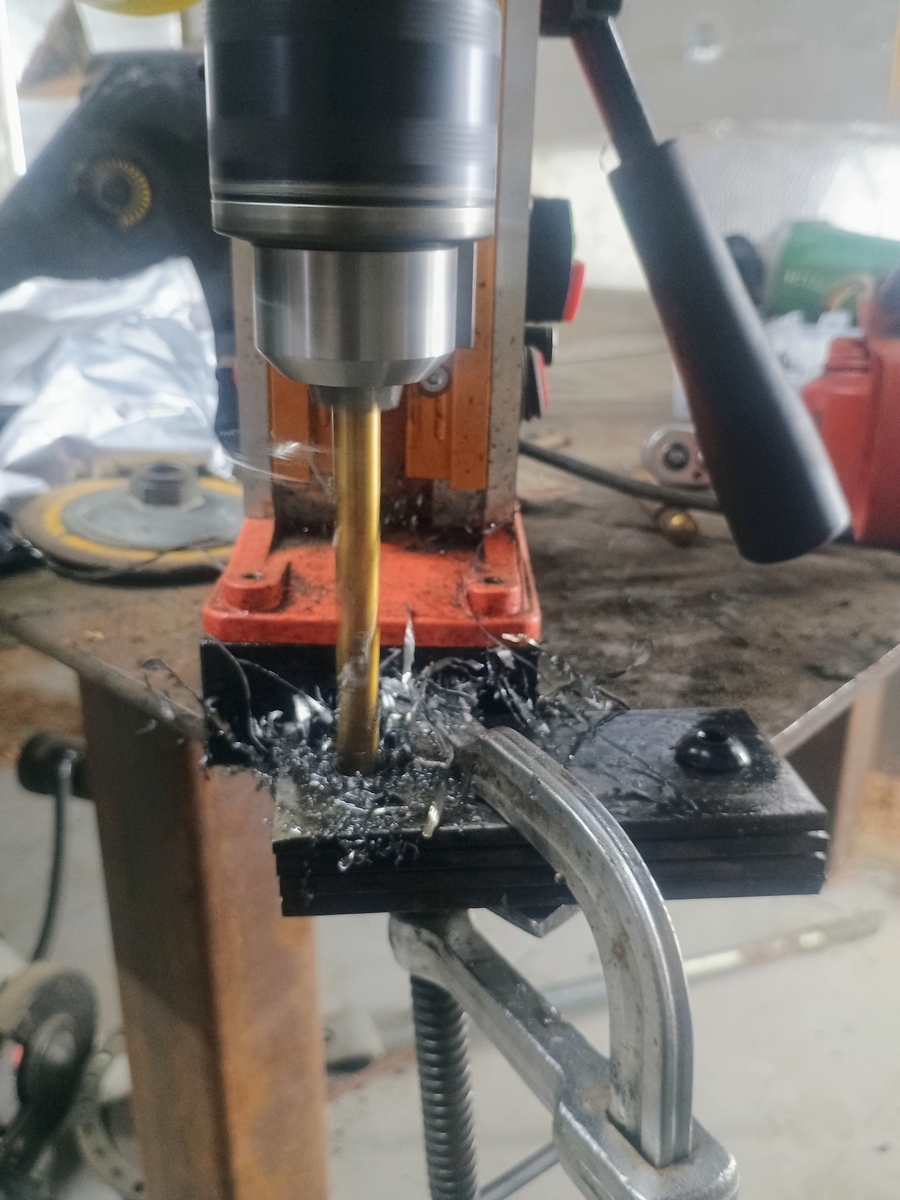
Drilling the holes in the mounting tabs.
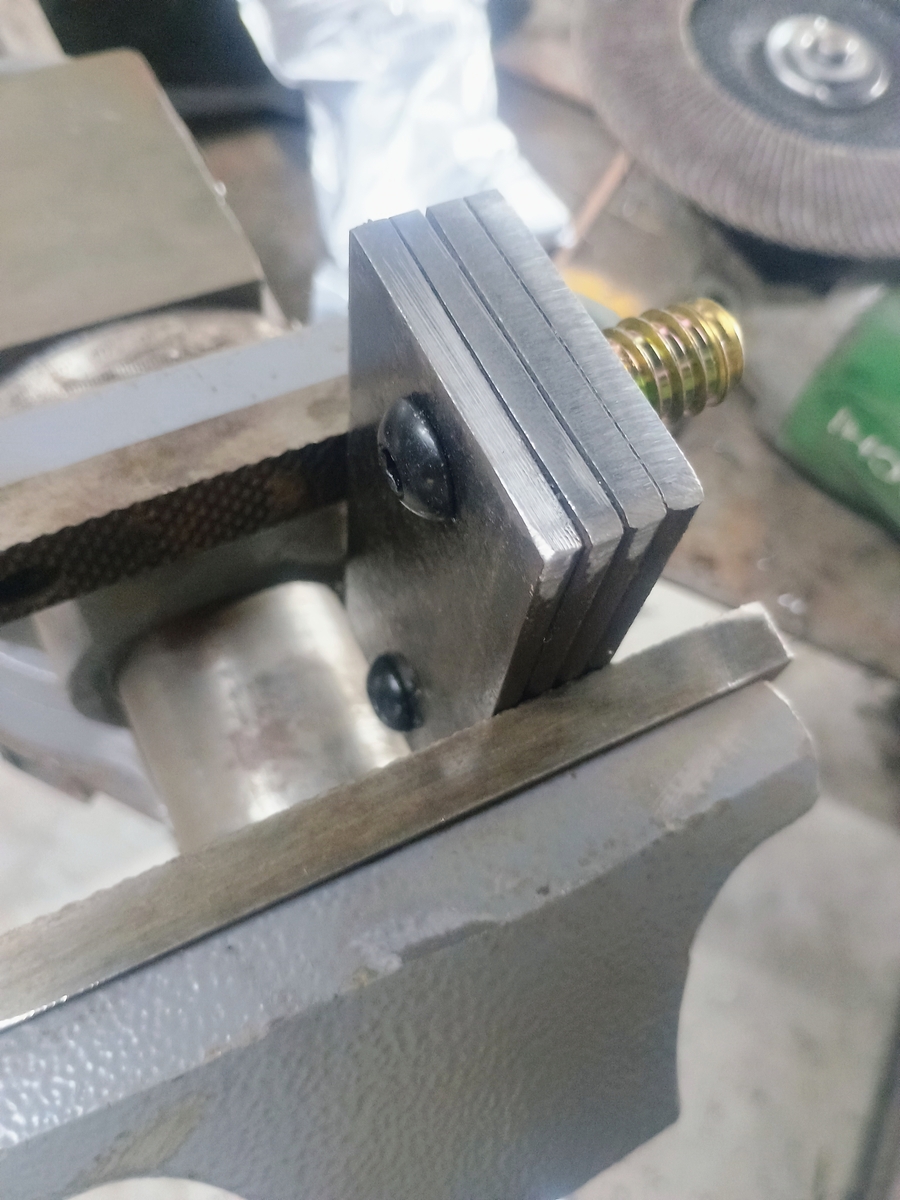
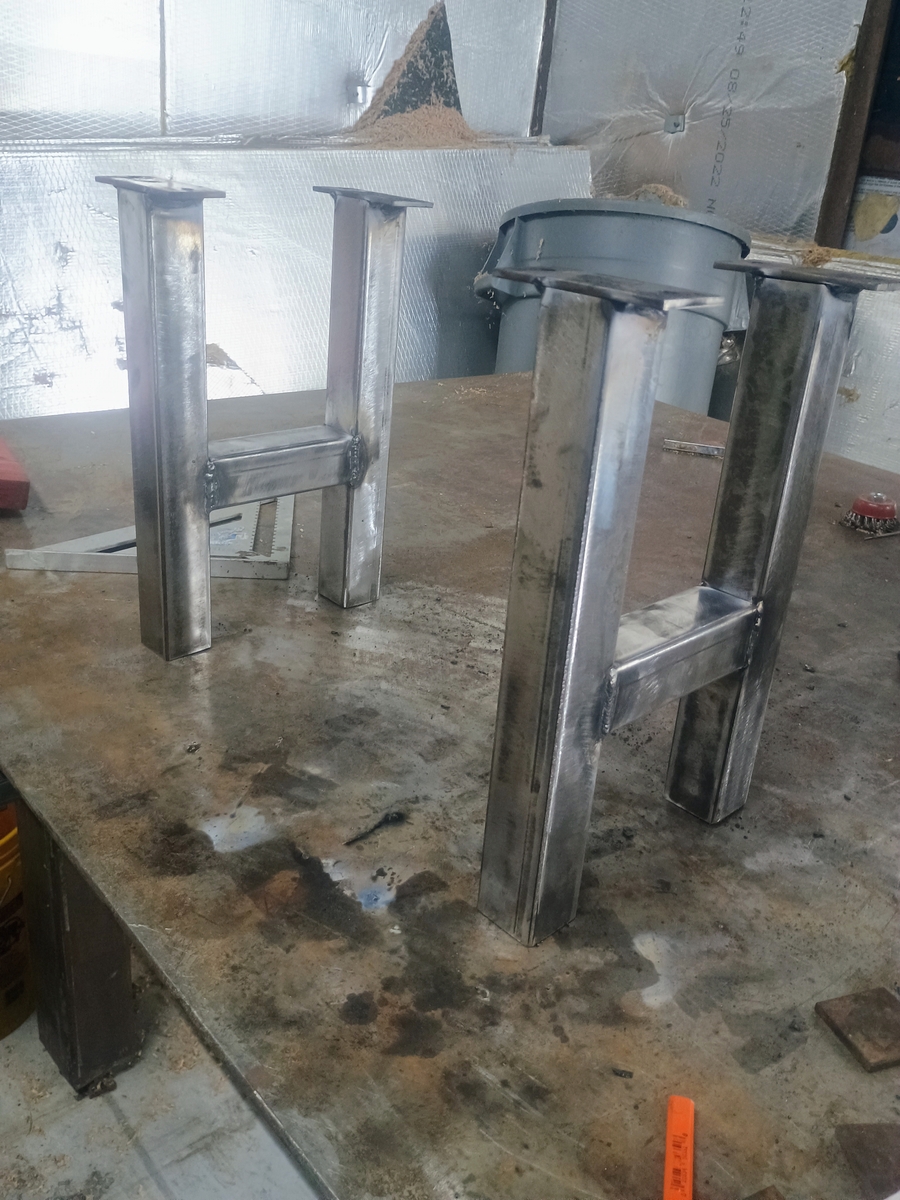
I made mounting plates for the adjustable feet, you know, just in case the floor isn't completely flat. ;)
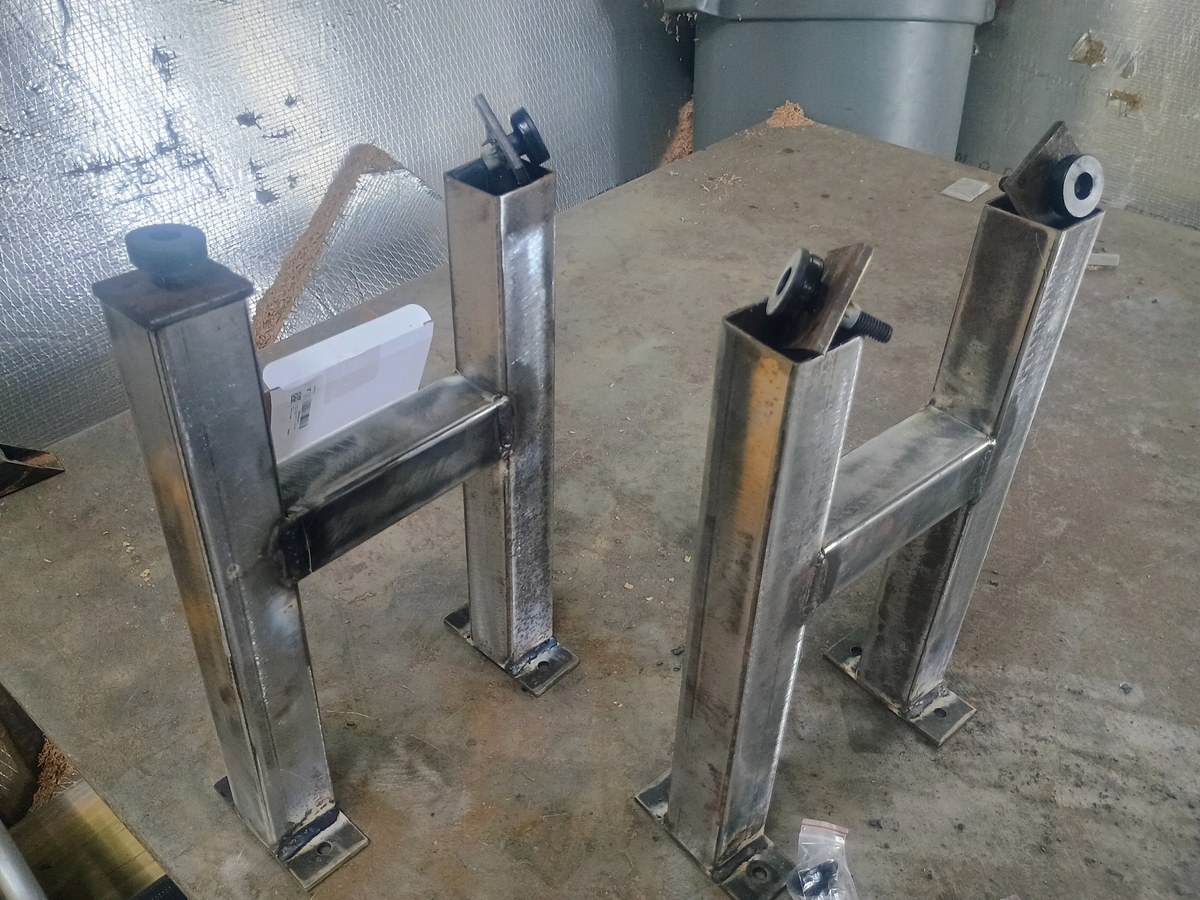
If I wanted to spray paint or powder coat the legs black, I could have bought them on Amazon. These are going to be different.
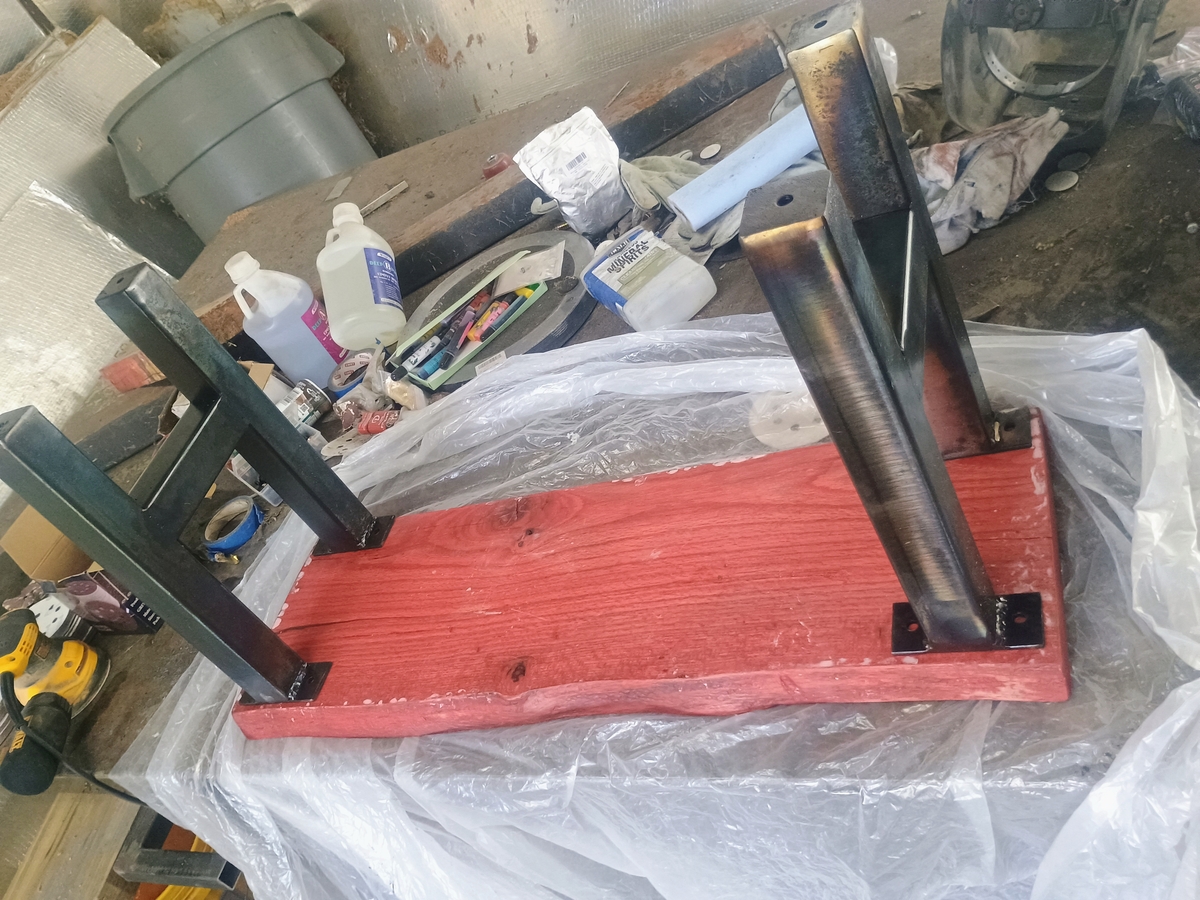
So lets torch them.
And then quench them in dirty motor oil.
I'd never done this before either, but I like the uniquely uneven result.
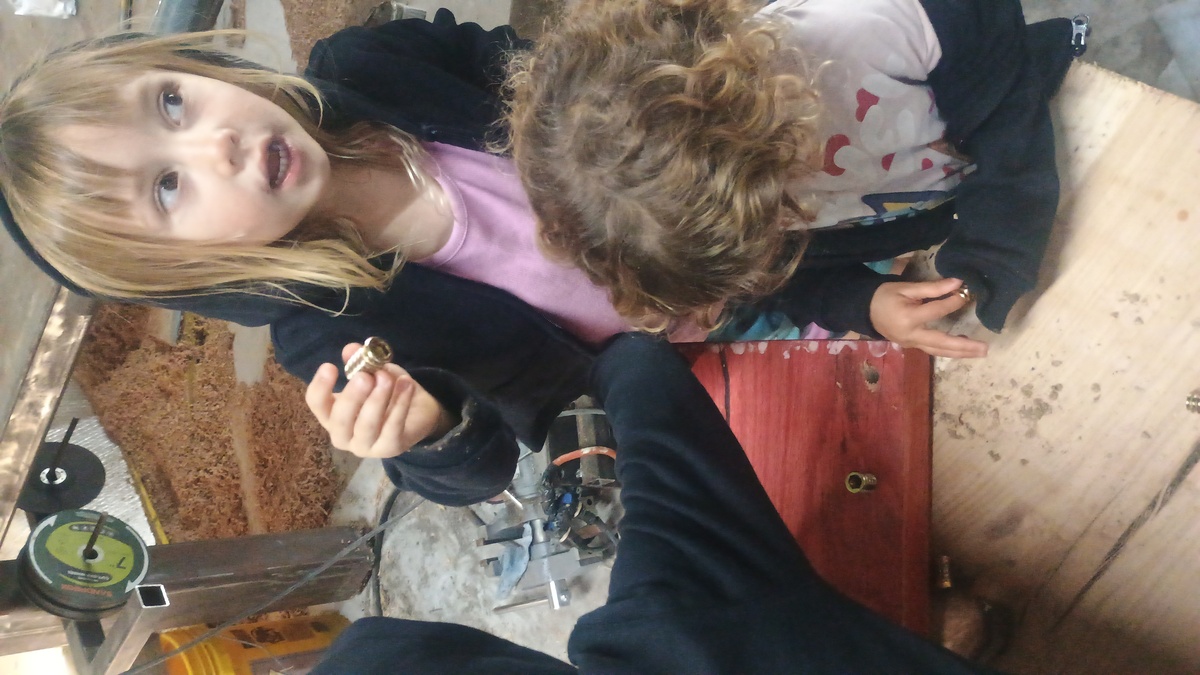
Now we're fitting the threaded inserts to bolt the legs to.
I ended up doing 2 or 3x the amount of work this should have required, and 2x the materials. Overall, it was a great experience and I got some experience with some new tools, materials, and processes that will help me turn out future furniture pieces more efficiently.